The secret about delivering the best live performance you can as a musician, band, or solo artist? In this day and age, the audience needs something to look at.
The bands that figure this out first – aka the ones who give their fans a reason to watch as much as listen – are the ones who start getting rebooked, talked about, and filmed.
Adding a video screen to your live set is one of the most powerful visual upgrades you can make, and it is no longer reserved for arena acts with seven-figure production budgets. The technology has come down in cost, the software has gotten dramatically easier to use, and the expectations of the audience have risen sharply.
According to Event Marketer, 84% of concertgoers say their experience is significantly enhanced when the show includes compelling visuals.
That number alone should tell you everything you need to know about why this matters.
For working musicians and bands who are serious about their stage craft, from the indie act doing 200-cap club shows to the regional headliner stepping up to festival stages, video in live performances is a secret weapon of sorts.
How Video and the Use of Screens in Live Music Became So Essential
The idea of supplementing a live performance with projected imagery is not new.
Pink Floyd were using film projections as far back as 1966, experimenting with oil projections and abstract imagery at London’s UFO Club before most bands had even thought about stage lighting. By the time of the Dark Side of the Moon world tour in 1974, they were projecting bespoke short films during their sets. These were films commissioned specifically for live use that, in many cases, have never been seen outside of that touring context.
That level of intentionality and treating the visual element as equal in importance to the music is the standard that the greatest live acts have held themselves to ever since.
What has changed is accessibility. The gear that allows a band to do something meaningfully close to that level of visual production is now within reach of working artists at almost every level. The gap between what a professional touring act can do and what a serious indie band can do has narrowed dramatically over the past decade. Whether you are renting gear for a one-off show or investing in a small projection rig of your own, video has become a realistic part of the live conversation for bands far outside the major label system.
Furthermore, when your visuals are purposeful and well-synced, they do not distract from your music. They deepen it.
The screen becomes part of your instrumentation.
Choosing Your Video Screen: LED Wall vs. Projection Screen
This is the first and most important decision you will make in your video setup, and it hinges on four variables:
- Your typical venue size
- The ambient lighting conditions
- Your budget
- How often you plan to use the system
There is no universally correct answer but understanding the trade-offs will save you money and frustration.
The Case for Projection Screens in Your Live Set and for Live Events
A projection setup remains the most cost-effective entry point for most independent bands looking to add video to their live set.
A good short-throw projector and a quality rear-projection screen or a basic front-projection surface can be assembled or rented for a fraction of what an LED wall costs. Projector-and-screen rental can typically be sourced for $500 to $1,500 for a single event day, compared to $2,500 to $5,000 or more for even a small LED wall configuration. For a band doing weekly or bi-weekly club shows, that cost differential adds up quickly.
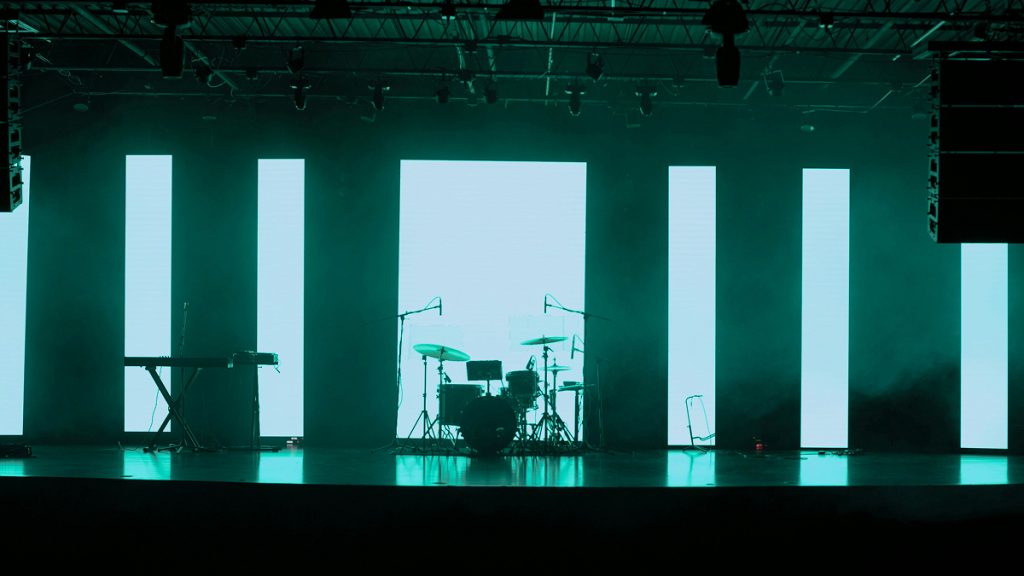
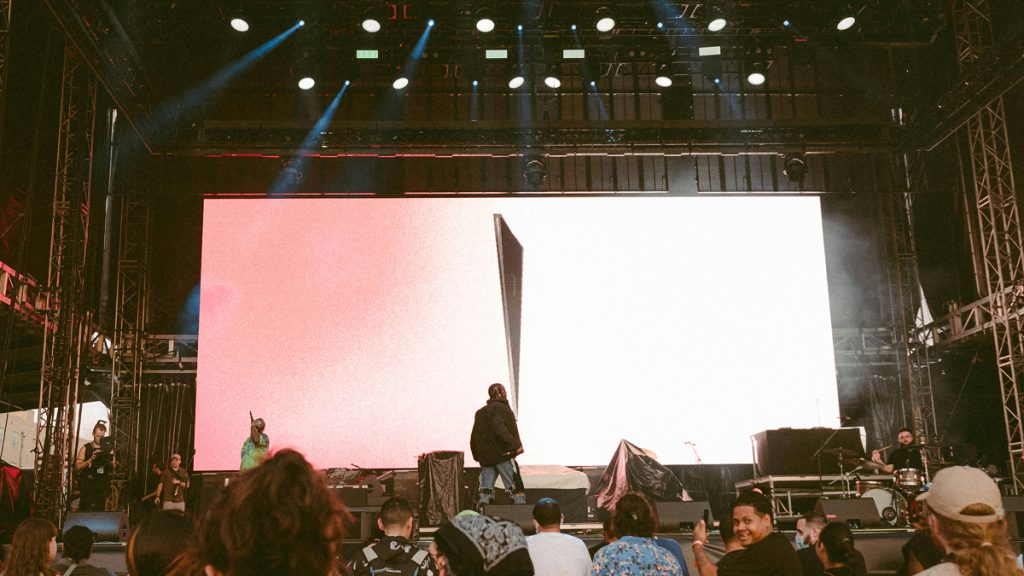
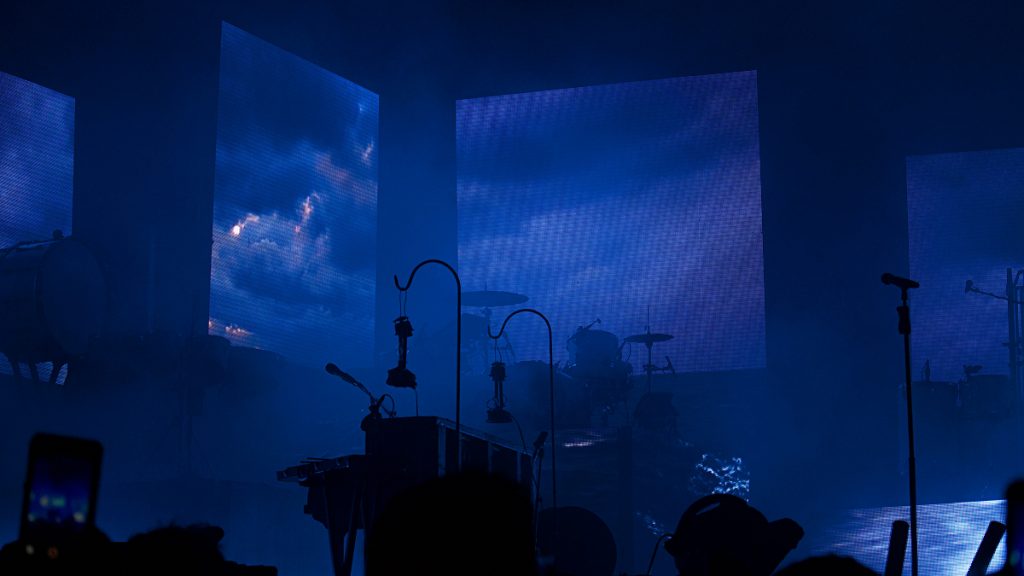
Projection works exceptionally well in small, dark venues – including intimate clubs, theatre stages, basement venues – where you have control over ambient light.
The key technical specification to watch is lumens output. For a small venue with decent light control, a projector in the 4,000 to 5,000 lumen range will get the job done. For larger rooms or any space where the stage lighting is aggressive, you will want to push toward 6,000 to 8,000 lumens or explore short-throw laser projectors, which have become significantly more affordable in recent years and offer much better brightness and longevity than traditional lamp-based models.
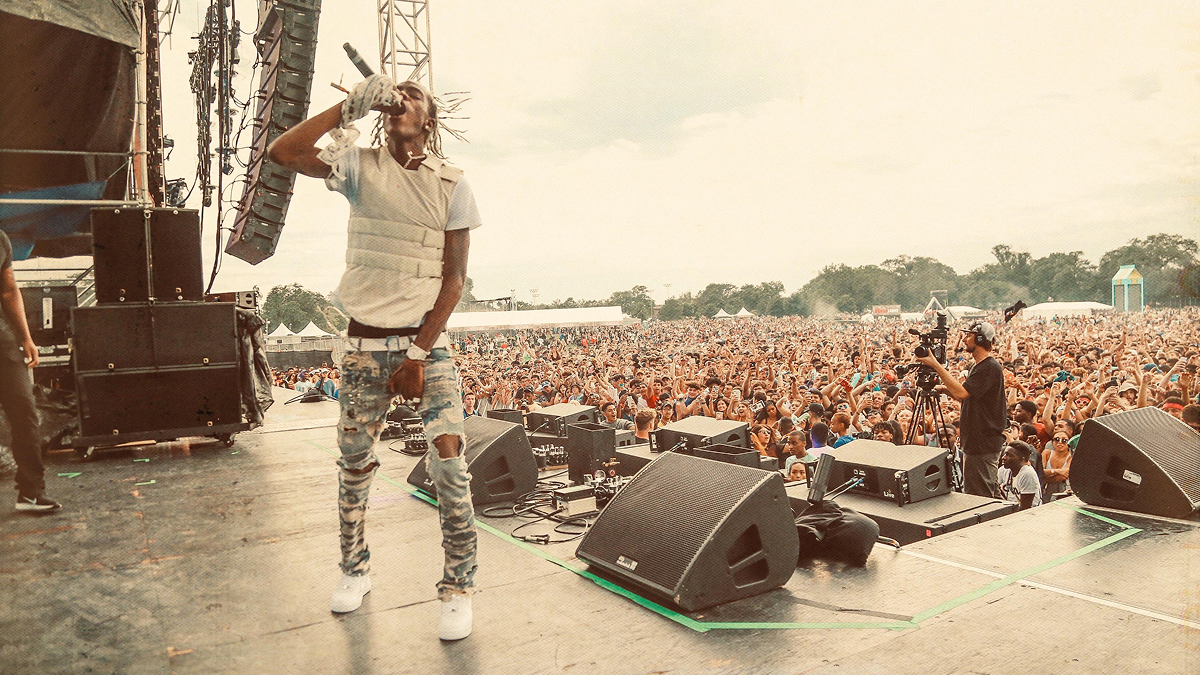
The biggest limitation of projection is its vulnerability to competing light. If you are performing at an outdoor festival during daylight hours, or at a bar where the house lights are not dimmable, a projector will wash out badly and the effect will be lost.
There is also a physical constraint to consider: front-projection setups require clear throw distance between the projector and the screen, which can be complicated in tight stage environments. Rear-projection setups – that is where the projector is behind a translucent screen – solve the throw distance problem but require depth behind the stage, which many small venues simply do not have.
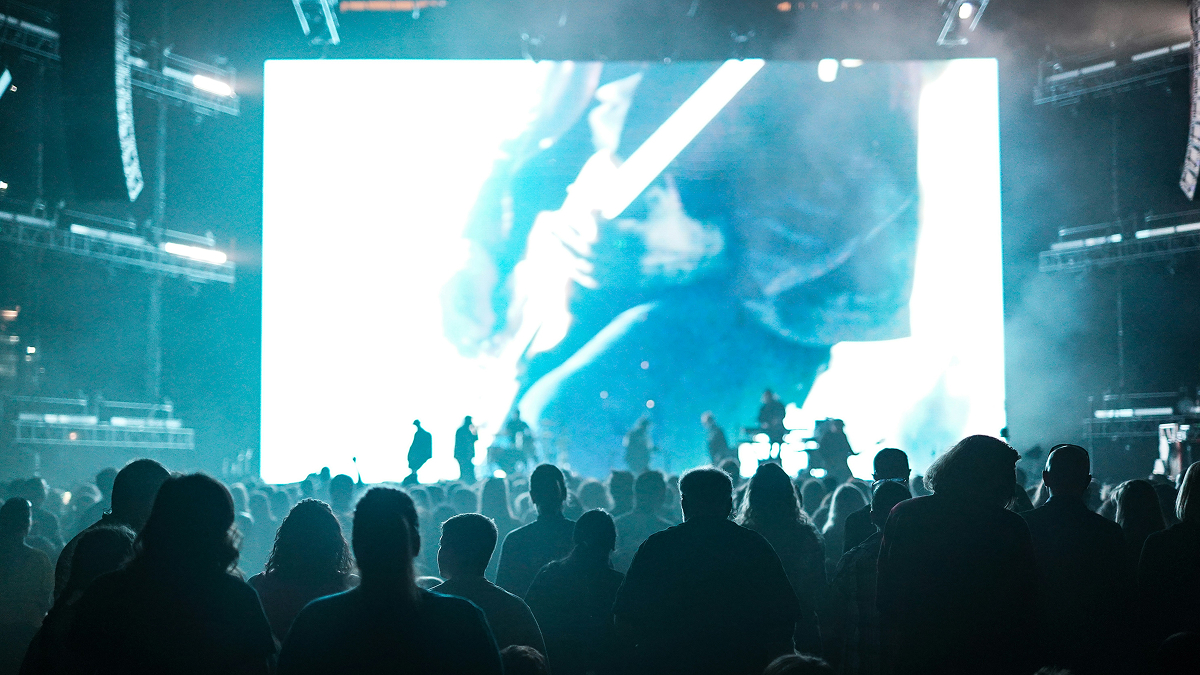
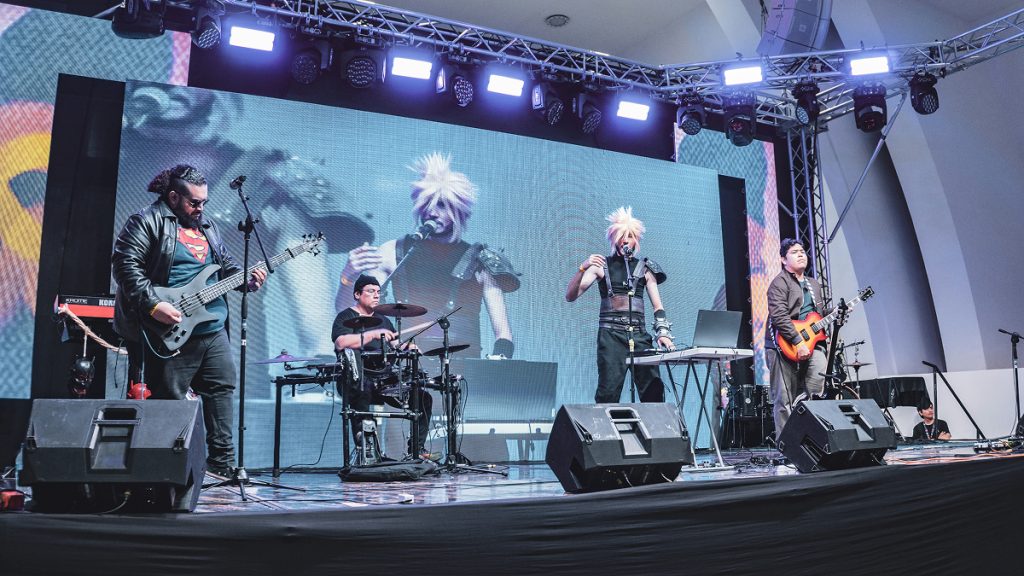
The Case for LED Walls for Video in Live Music and Live Performances
LED video walls are the industry standard for video in a live music performance for a reason.
Compared to traditional projection systems, LED screens offer better brightness, durability, and energy efficiency, and they operate effectively in virtually any lighting environment, including full daylight.
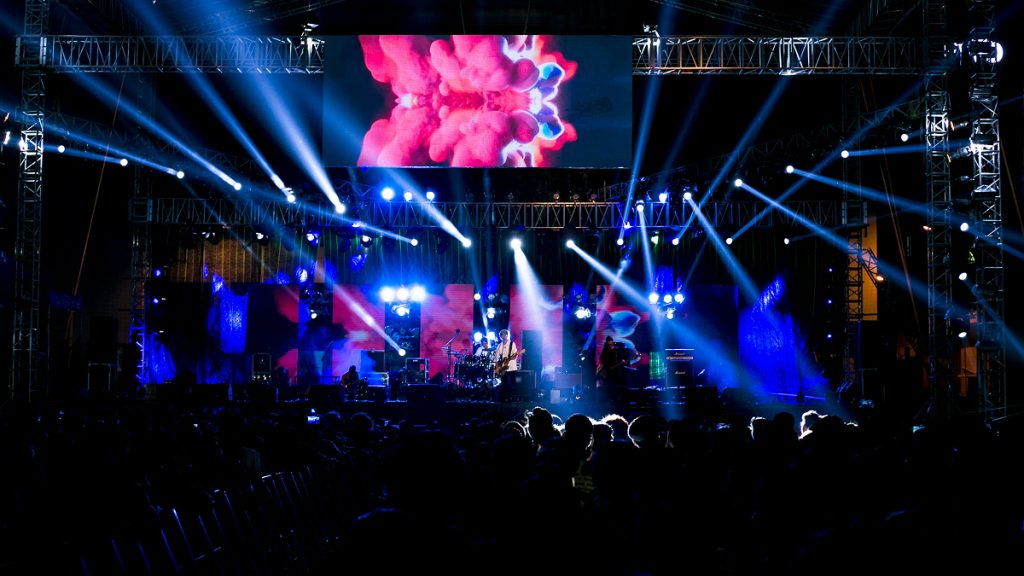
LED panels are high intensity, visible in high ambient light, and have great contrast and colour. You can also easily create unconventional screen sizes and shapes, fragmented and even curved displays, and can build an LED wall in tight spaces where you may not have the projection throw distance.
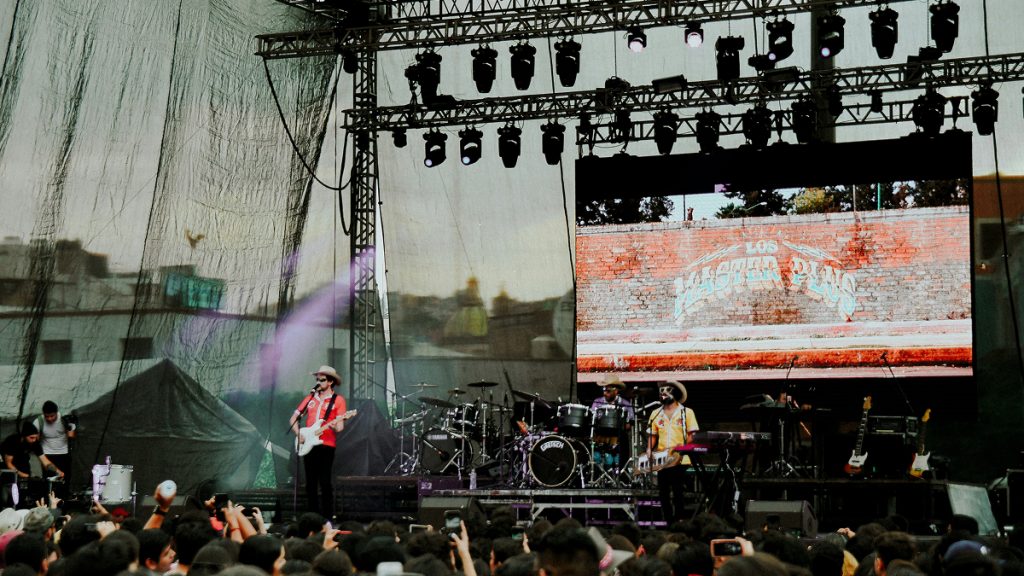
For bands playing mid-size venues, outdoor festivals, or any situation where the stage lighting is going to be bright and complex, an LED wall is the only technology that will hold its visual impact.
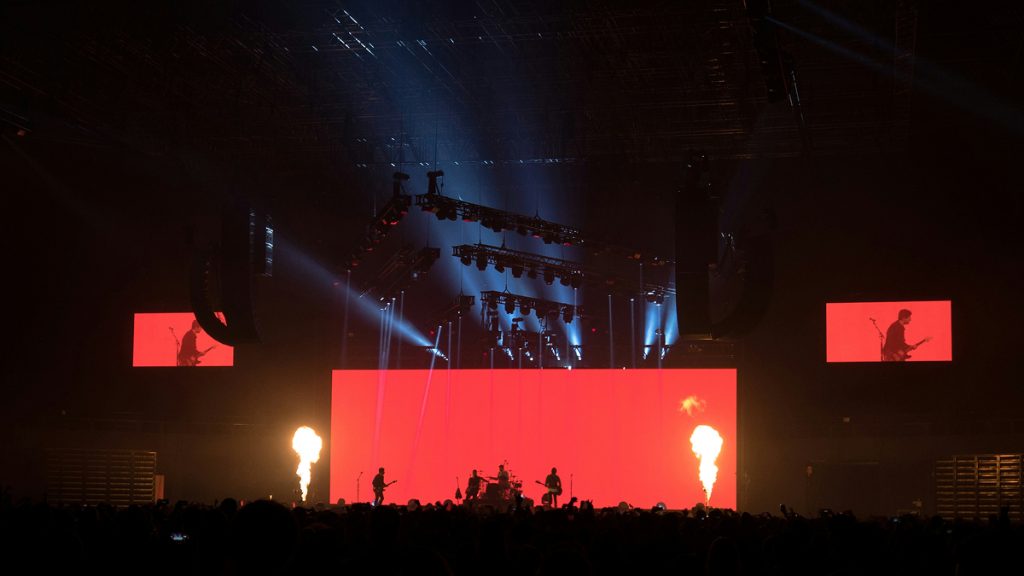
The modular nature of LED panels also gives you creative flexibility that projection simply cannot match. You can build unusual shapes, wrap panels around set pieces, or create a triptych layout with separate screens on either side of the stage flanking a central display.
LED wall rental prices typically fall between $1,000 to $5,000 per day, but this can vary based on the duration and specific requirements. For bands who are not yet at a level where carrying their own LED wall makes financial sense, rental is the smart path.
Build it into your show budget for the bigger gigs – such as the events where you have ticket revenue, a guarantee, or a production budget – and save projection for your regular club circuit. Think of the LED wall as a headline-show weapon, not a nightly tool.
One important practical note: professional modular LED panels are very heavy, weighing over 44 lbs per cabinet, and have specific power requirements as well as data signal configuration. Most rental companies have their own certified technicians to install the equipment to ensure integrity of the signal and safety requirements of the venue.
When you rent an LED wall, you are typically renting the expertise of the crew as well, which is factored into the price and is genuinely necessary.
Making the Choice Between LED Panels and Projector Screen: Here’s Your Answer
Here is a practical rule of thumb: if your venue has good light control and your audience is within 30 feet of the screen, projection is excellent and cost-effective.
If you are playing anywhere with ambient light challenges, large stage-to-audience distances, or strong stage wash lighting, go LED.
As your shows grow and your budget allows, consider investing in your own mid-sized LED wall. A 10-by-6-foot indoor panel system can now be purchased outright for $15,000 to $40,000 and can serve a working touring band for years.
Renting at $2,000 to $4,000 per show, that investment pays for itself quickly if you are doing regular headline touring.
What Type of Video Content Actually Works for Live Music on Stage
The content you put on that screen is where most bands get things wrong.
There is a common instinct to show music videos, live footage of the band, or random visual loops that have no relationship to the music and this approach almost always falls flat.
Purposeful, thematically coherent visuals are the difference between a screen that enhances your show and one that distracts from it or, worse, makes your production look amateur. Think about what you are trying to communicate and let that drive every content decision.
Idea #1 – Abstract and Motion Graphics Loops to Suit Your Music
For most working bands, abstract motion graphics and visual loops are the workhorses of live video content.
Well-executed loops – i.e. geometric patterns, particle systems, organic shapes, colour field transitions – create atmosphere and depth without competing with the performance for the audience’s attention. They are also forgiving in live contexts because they do not rely on precise synchronisation cues; a smooth, aesthetically coherent loop can run under a four-minute song without requiring frame-perfect timing.
The key to making loops work is restraint and consistency. Sticking to a palette of 2–3 colors, consistent shapes or motion styles, and an overall tone that matches your genre is essential. If you are switching from neon 3D geometry to hand-drawn animations mid-set, the experience can feel jarring.
Build your visual library around your band’s visual identity, including the colours, textures, and moods that you use in your album artwork, merch, and social media, and your stage visuals will feel like an extension of your brand rather than an afterthought.
Royalty-free visual loop libraries are abundant and affordable.
Artists like Beeple have made enormous libraries of 3D looping content available, and platforms like Videezy, Motion Array, and Action VFX offer professional-quality stock motion content for reasonable licensing fees. For a few hundred dollars, you can build a library of loops that will serve you for years.
You can also find purpose-built VJ loop packs on platforms like Gumroad for as little as $3 to $50 per pack, many of which are designed specifically for live performance contexts.
Idea #2 – Attach to Narrative and Thematic Visuals in Your Songs
At a more ambitious level, you can develop song-specific visual content that tells a story or reinforces the thematic content of each track.
This is where the production starts to feel genuinely artistic rather than decorative. Think of it as a visual album unfolding behind you in real time.
For each song, you are creating a short film. It’s not a music video, but something more abstract and evocative that amplifies the emotional arc of the music without distracting from your performance.
This approach requires more pre-production investment, but the payoff in audience impact is significant. Even relatively simple thematic visuals – such as a time-lapse of a winter landscape for a melancholic ballad, a slow-motion footage loop of a city at night for a driving rock song – can transform a song’s emotional resonance for an audience seeing it live.
The goal is to give the eyes something that confirms and deepens what the ears are experiencing, not something competing for attention.
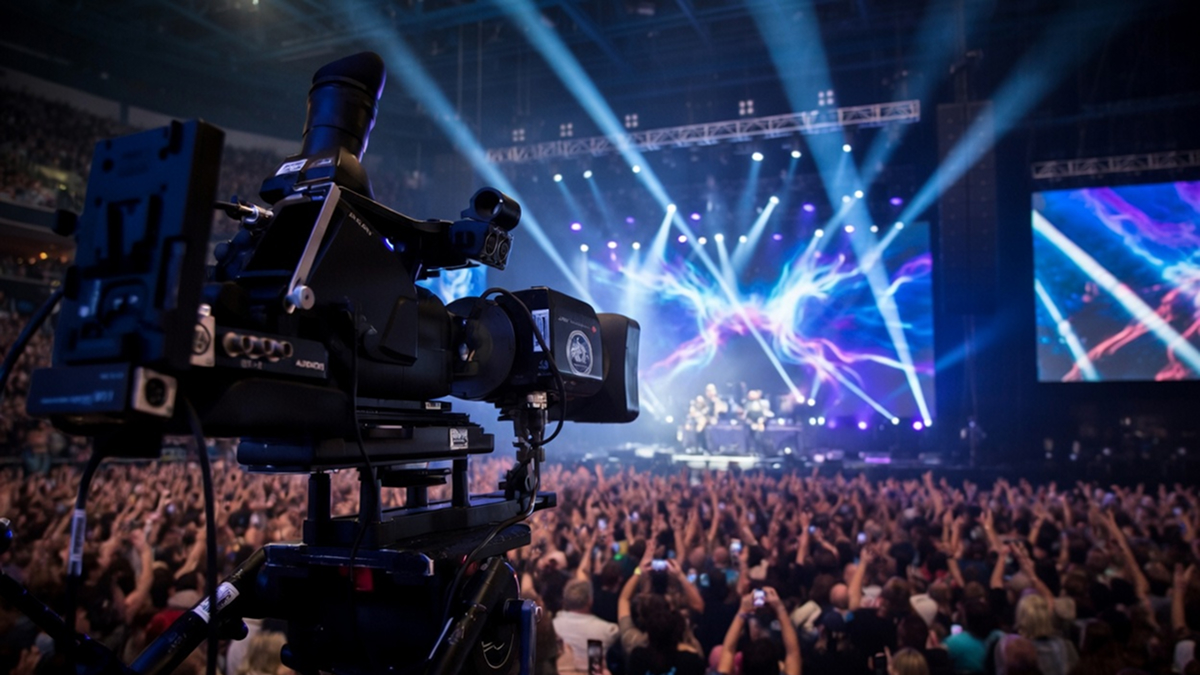
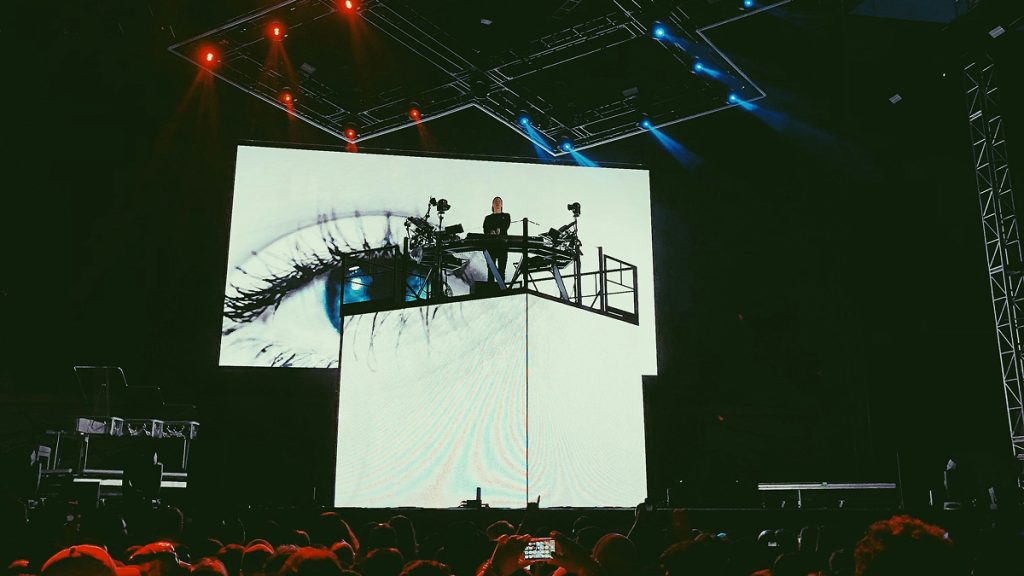
Idea #3 – Live Camera Feeds of Your Band Performing for Larger Venues
Image magnification – projecting a live camera feed of the performers on screen – is the standard approach for large venues where audience members far from the stage cannot see the performers clearly.
This is the obvious, practical function of video at arena and stadium scale, but it can also serve bands at more modest venues if deployed thoughtfully.
A single handheld camera or a static close-up camera on the vocalist or lead guitarist, fed to even a modest screen, adds a layer of connection and intimacy that is surprisingly effective in rooms of 500 to 2,000 capacity.
The risk with IMAG is that it requires an operator, which is a staffing cost and logistical complication that many smaller bands are not equipped to handle. A poorly operated camera feed – one that includes bad framing, late cuts, awkward zooms – can actively harm the audience’s experience. If you want to use live camera, invest in a capable operator or set up a fixed wide-shot feed that simply requires no real-time operation.
A static wide camera pointing at the whole band, rendered beautifully with good lighting, can work extremely well as a background element without requiring anyone behind a camera.
Idea #4 – Audio-Reactive Visuals Are A Time Investment You May Make
Audio-reactive visuals are graphics that respond in real time to the sonic content of your performance. This is one of the most satisfying experiences you can create for a live audience because they make the connection between sound and image feel genuinely alive.
Software like HeavyM and TouchDesigner can generate audio-reactive visual output with relatively low technical barriers, and both platforms are widely used in professional live contexts.
The key technical specification to be aware of is latency.
As a general rule, two events will appear instantaneously linked to humans if the delay between them is less than 100 ms. A delay greater than 100 ms will be considered as perceptible. When configuring audio-reactive systems, you need to ensure your signal chain – from stage microphone or direct feed to the software to the screen – is fast enough to feel tight.
A dedicated line from your FOH or monitor board into the laptop running your visuals software is far more reliable than a microphone placed near a speaker cabinet.
How to Design Your Visuals: Tools, Workflows, and Approaches
You do not need to be a motion graphics artist to build a compelling visual show, but you do need to think like a director.
The question is not “what looks cool” but “what tells the right story for this music in this moment.” Once you have that framing in place, the tools become secondary. Here is a practical breakdown of the design routes available to you.
1. Building Your Own Visuals in Combination With Your Live Set
For bands with some creative or technical bandwidth, building your own visuals gives you complete ownership of the aesthetic and the flexibility to update and refine your show continuously.
Adobe After Effects is the industry standard for motion graphics production, and while the learning curve is real, the template ecosystem around it is enormous. Sites like Envato Elements and Motion Array offer thousands of After Effects templates that can be customized to your band’s colours and themes without requiring mastery of the software from scratch. You can adapt a template in an afternoon and export a professionally polished visual loop that is entirely yours.
For more generative, real-time visual work, TouchDesigner is the tool serious visual artists and VJs reach for. It is node-based rather than timeline-based, which means you build visual systems that respond dynamically to inputs – i.e. audio, MIDI, external data – rather than pre-rendering a fixed sequence.
The learning curve is steeper, but TouchDesigner gives you capabilities that are simply not achievable with pre-rendered content: truly reactive visuals, generative graphics that never repeat exactly the same way twice, and seamless integration with Ableton Live and other DAWs via OSC protocol. There is a robust free version of TouchDesigner available, and the community around it is extensive.
For bands who want something approachable without deep technical investment, HeavyM offers a more accessible entry point into live visual generation. Designed explicitly for musicians and performers rather than professional VJs, it can generate audio-reactive visuals with minimal setup, and its interface is far less intimidating than TouchDesigner.
2. Working with AI Visual Tools Can Provide a Starting Point
The past two years have opened up a genuinely new creative avenue for live visual design through AI-generated video.
Tools like Runway, Sora, and Kling can now generate atmospheric video loops from text prompts, and the quality is at a level that is genuinely useful for live production. Live performance often has associated graphics, including album art, logos, tour posters. Rather than showing these as static slides, AI tools can be used to animate them and create short videos that retain the original look, creating a professional, branded visual that elevates the show.
The practical workflow is this:
- First, write detailed prompts that describe the visual texture you want, i.e. “slow-moving abstract coral reef in deep blue and gold, dreamy and atmospheric, no text”.
- Then generate multiple iterations.
- Select and edit the best results in DaVinci Resolve or Premiere Pro, then export seamlessly looping clips for use in your performance software.
You can build a song’s entire visual package in a day using this approach. The results are stylistically distinct, deeply customizable, and entirely royalty-free since you generated them.
3. Hiring a Visual Designer or Video Editor to Create Custom Works For Your Live Act
For bands at a level where the production budget supports it, hiring a dedicated visual designer or live VJ is transformative.
A skilled VJ is not simply pressing play on pre-made content. They are performing with you, reading the room, adjusting the energy of the visuals in response to the audience and the performance in real time. The best VJs are collaborators who understand music deeply and bring a creative perspective that complements rather than competes with the band.
When vetting a visual collaborator, ask to see examples of their work in a live context, not just polished demo reels, but actual performance footage.
Ask them about their sync workflow, what software they use, and how they handle technical failures (because technical failures will happen, and how a VJ responds to them matters enormously). Build in rehearsal time for them to work through the set with you before the show.
Syncing Your Visuals to the Music: This is the Technical Backbone
The most beautiful visuals in the world will undermine your show if they are out of sync with the music or if the technology fails mid-set.
Getting the technical workflow right is unglamorous but essential, and it deserves serious attention before your first show with video.
1. The Click Track Method
If your band already performs to a click track or backing tracks via a DAW, integrating video is relatively straightforward.
Ableton Live is the platform most touring bands use for this workflow. You can load video clips directly into Ableton alongside your audio tracks, and the software will play them back locked to your session’s tempo and timeline.
Videosync, a Max for Live plugin from Showsync, extends Ableton’s native video capabilities dramatically, allowing you to treat video clips with the same warp markers, effects chains, and automation that you apply to audio, effectively making your visual layer a first-class element of your session rather than an afterthought.
The Videosync approach is arguably the most reliable and tightly integrated option available for bands already running Ableton. Designed for touring performers, multimedia artists, and forward-thinking laptop musicians, Videosync offers a suite of powerful yet intuitive Max for Live devices that seamlessly integrate video playback, audio reactivity, and flexible effects in Live, enabling compelling visuals to be generated in real time.
2. QLab for Cue-Based Shows
For bands who prefer a song-by-song cue-based approach rather than running a continuous session, QLab is the industry standard in theatrical and live event production.
Mac-only and widely used in professional theatre and touring contexts, QLab allows you to build a precise cue stack – a video file for each song, triggered by a single keystroke or MIDI command – and fire them with the kind of precision and reliability that professional touring demands.
While Resolume focuses on real-time video mixing, QLab can provide a timeline-based control for pre-rendered content and cues, allowing them to work together in a larger performance setup.
QLab’s strength is its deterministic reliability. What you program is exactly what plays back, with no variability. For bands whose sets follow a fixed sequence every night – which is the reality for most touring acts – this predictability is a major operational advantage.
QLab also handles audio, MIDI, and lighting cues within the same interface, making it a genuine show control platform rather than simply a video player.
3. Resolume for Improvisational or Flexible Sets
If your band does not play to a click track and your set list varies significantly from night to night, Resolume Avenue is the tool built for you.
It is the most widely used VJing software in the world, and its clip-based matrix interface lets a performer or dedicated VJ trigger individual content clips at any time, in any order, with real-time effects control. Resolume works equally well as a solo artist’s visual instrument – triggered from a MIDI controller – or as a platform for a dedicated VJ working alongside the band.
The learning curve on Resolume is steeper than QLab, but the creative ceiling is much higher. An experienced Resolume operator can improvise visually with the same spontaneity that a skilled musician improvises musically, which creates a live show that feels genuinely alive rather than pre-packaged.
For bands whose performances are inherently variable, dynamic, or improvisational – such as jam bands, post-rock acts, jazz-influenced groups – this flexibility is essential.
4. The Simple USB Method
Not every show requires sophisticated software infrastructure. For many grassroots and mid-level venues, the simplest and most reliable approach is loading your visual content as a standard 16:9 MP4 file onto a USB drive and handing it to the venue’s AV team.
Many bars, theatres, and festival stages have a resident projector or screen system with a media player that simply loops whatever you give them.
It is not flexible, it is not interactive, and it will not sync tightly to your performance but it is dead simple, costs nothing beyond the preparation time, and will work every single time without a laptop on stage.
For bands just starting to explore video production, this is the right place to begin. Build a strong two-to-three minute visual loop that captures your band’s aesthetic, export it as a 1920×1080 or 4K MP4 file, and bring it to every show.
As your production grows, you can layer in more sophisticated playback systems on top of that foundation.
How Often Should You Rely on Video in Your Live Set As A Musician?
This is the question that separates bands who use video as a tool from bands who use it as a crutch, and it is one that is worth thinking about carefully before you commit to a full visual production.
Video should serve the music, not replace the performance.
The single biggest mistake bands make when first integrating screens into their show is allowing the technology to become the focal point and letting the audience watch the screen instead of the band. If you find that audiences are looking past you to the display, your visuals are too dominant and need to be dialed back in brightness, dynamism, or compositional complexity.
There is also a philosophical argument for restraint. Some of the most powerful live moments in music history have happened with nothing but lights and sound.
The intensity of a great performance, communicated through musicianship, physical presence, and energy, is irreplaceable. Video should amplify that, not substitute for it.
Simple visuals used consistently are far more effective than complex visuals used once. When it comes to music visuals, simple ideas executed well often have the strongest impact, and overly busy visuals can distract from the music rather than support it.
A Practical Framework for Set Design When It Comes to Incorporating Video
Think of your visual show in three tiers.
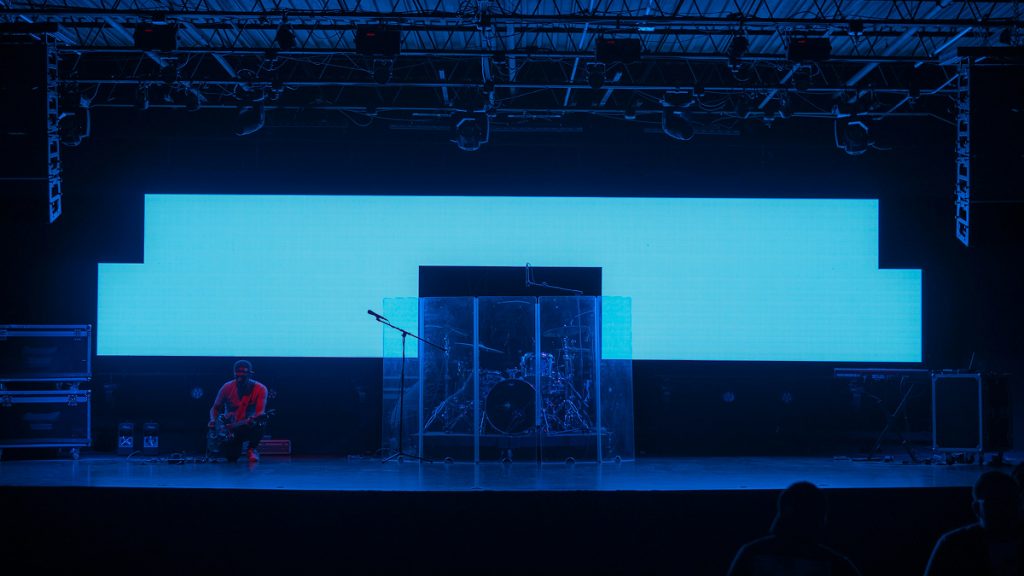
Tier 1: Ambient Presence
A consistent, low-key visual backdrop that creates atmosphere throughout the set without demanding attention. Abstract loops, slow colour field transitions, textural motion content at moderate brightness. This runs under most of your set and keeps the visual field alive without pulling focus from the performance.
Tier 2: Heightened Moments
These are visuals that intensify or shift dramatically at specific emotional peaks in your set. The big chorus drop, the guitar solo, the final build of your set-closing song. These are the moments where your visuals earn their place by amplifying something that is already musically significant. Design specific visual content for these moments, time it precisely, and the effect will be genuinely powerful.
Tier 3: Blackout
This is the one most bands forget. Turning the screen off, or cutting to pure black at a moment of musical intimacy or dramatic tension, is one of the most powerful visual choices you can make. A stripped-down acoustic moment, a spoken word section, a song that is purely about the voice. These are moments that often land harder with no visual accompaniment at all. The absence of video at these moments tells the audience to look at the performer and listen more closely. Used strategically, blackout is as powerful a visual tool as anything on the screen.
As a general rule, aim for video content on roughly 60 to 70 percent of your set, with intentional variation in visual intensity and deliberate blackout moments that give the audience’s eyes a rest and make your more visually active moments hit harder by contrast.
Practical Considerations Before Your First Live Set Using a Video Backdrop
Before you walk into your first show with a screen, there are several practical realities that you need to address to avoid the kind of technical disasters that have derailed many a well-intentioned production.
Always Advance the Venue’s AV Situation
Before every show, contact the venue or its production team and confirm: is there a house projector or screen, or do you need to bring your own? What inputs are available, i.e. HDMI, SDI, VGA? Who is running AV during the show, and will they have time to test your setup in advance? Surprises at load-in are the number one cause of live video failures, and almost all of them are preventable with a ten-minute phone call.
Redundancy Is Not Optional
In a live show context, technology fails at the worst possible moment. Always carry a backup. A pre-loaded USB drive with your core content, a secondary laptop configured identically to your primary rig, or at minimum a clean “emergency loop” that can run from a secondary source if your main system goes down. The show must go on, and audiences are far more forgiving of imperfection than they are of a five-minute dark screen while a band troubleshoots a crashed application.
Your Laptop Needs a Dedicated GPU
Running visual software at performance quality requires more than a standard office laptop. Any machine you use for live visual playback should have a dedicated graphics card – not integrated graphics – and you should test your full visual setup at rehearsal intensity for at least 30 minutes before relying on it in a show. Thermal throttling on an underpowered laptop mid-set is a real and common problem.
Connect via Cable, Not Wirelessly
Whether you are feeding a venue projector or an LED processor, use a reliable HDMI or SDI cable connection. Wireless video transmission introduces latency and failure points that simply do not belong in a live show environment.
Learning from the Best: Bands Who Got It Right with Video in their Live Sets
The bands who have integrated video most successfully into their live shows share a common characteristic: they treat the visual element with the same seriousness and intentionality that they bring to their music.
- Radiohead‘s live production is famously minimal and precise, with abstract, glitchy imagery that perfectly mirrors the band’s sonic texture without ever feeling decorative. The visuals feel composed, not assembled.
- Massive Attack have made their live production a deliberately political act, surrounding their performances with real-time data visualizations and text that extends the thematic content of their music into the room in a genuinely confrontational way.
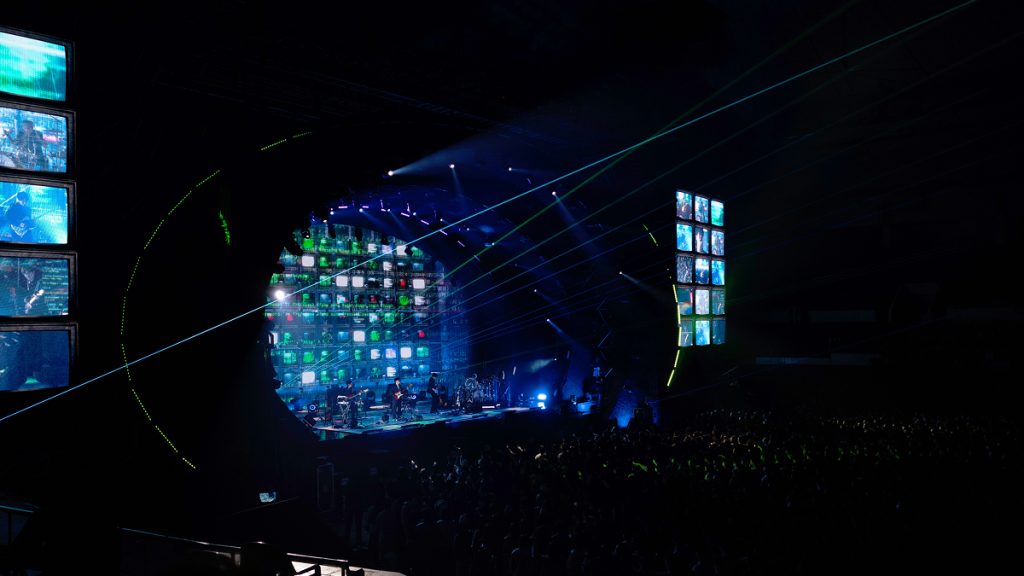
- Nine Inch Nails, across multiple tours, have used video in radical and innovative ways, including a 2008 production that featured LED walls so integrated into the stage design that the physical architecture and the visual content became inseparable.
None of these bands are using video to compensate for a weak performance or to fill dead space.
They are using it as a compositional element, as seriously considered as the arrangement of their songs. That is the standard to hold yourself to, regardless of your production scale. A single well-designed loop played through a borrowed projector at the right moment in the right song can be more impactful than $50,000 worth of LED hardware running generic content.
Can You Use Video in an Effective Way to Highlight Your Music – Yes, You Can
Adding a video screen to your live show is one of the most significant production decisions you will make as a band.
Be sure to choose the technology that fits your current venues and budget. Always design your content with intent, keeping it visually coherent and thematically aligned with your sonic identity. Sync it reliably, plan for failure, and – crucially –know when to turn the screen off.
The bands that do this well are not necessarily the ones with the biggest budgets.
They are the ones who understand that a live show is a total sensory experience, and that video, when used thoughtfully, can transform a good performance into something an audience remembers for years. The technology is accessible, the tools are learnable, and the creative upside is enormous.
The only thing stopping you from beginning to incorporate video into your live sets is the decision to take it seriously.