Here’s a number that should grab your attention: a professionally produced music video for an independent artist costs anywhere from $2,000 to $30,000 before a single frame hits YouTube.
For most bands grinding and playing local venues, and building a following one show at a time, that kind of budget is prohibitive.
But here’s what many artists overlook: your next gig might already be one of the best music video sets you’ll ever have access to.
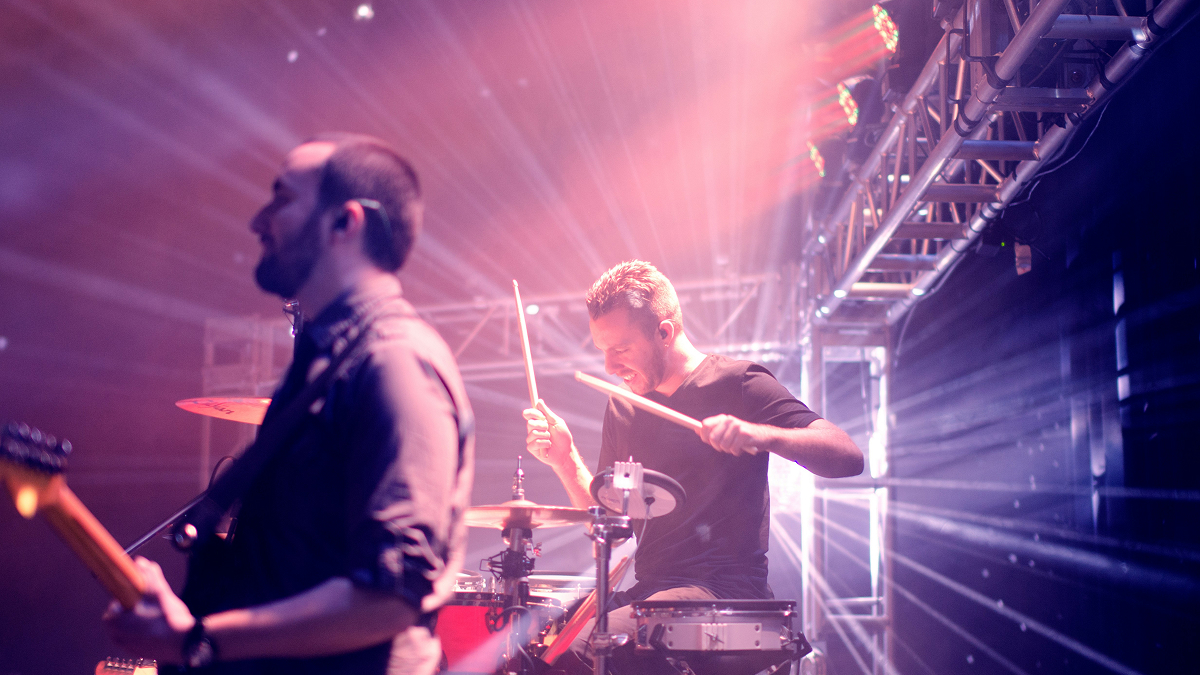
A live performance gives you something no studio can manufacture: raw, unscripted energy. The crowd reacting in real time, the lights sweeping across your guitarist mid-solo, the singer locking eyes with someone in the front row. These are cinematic moments you can’t choreograph. Some of the most compelling music videos in recent memory have been built entirely from live performance footage, edited and color-graded to feel like high-production releases.
Hundreds of bands and countless independent acts have leaned into the live format to create visuals that feel genuinely alive.
The question isn’t whether it can work. The question is whether you’re prepared to capture it properly.
This guide covers everything: the hardware you need, how to set up your cameras, which angles to prioritize, how to handle audio, how to edit the final product, and the small but critical details that separate a polished live video from shaky smartphone footage that never gets watched.
Why a Live Gig Is Actually a Great Music Video Set
Before we get into the technical weeds, it’s worth reframing how you think about your live show as a production environment.
Most bands treat gigs as performances and nothing else. The bands who get ahead treat every significant show as a dual-purpose opportunity: perform for the room and capture content for the internet.
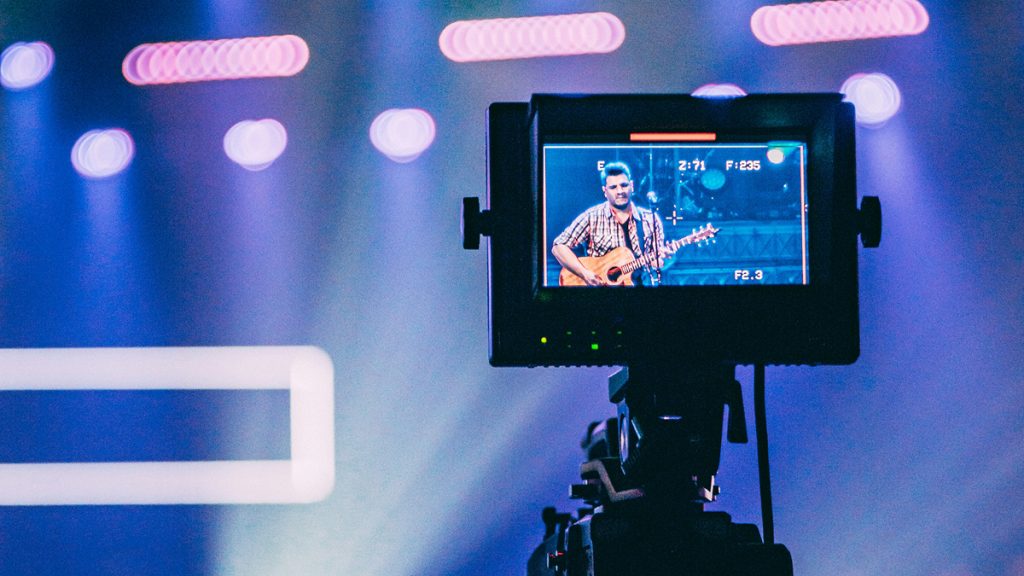
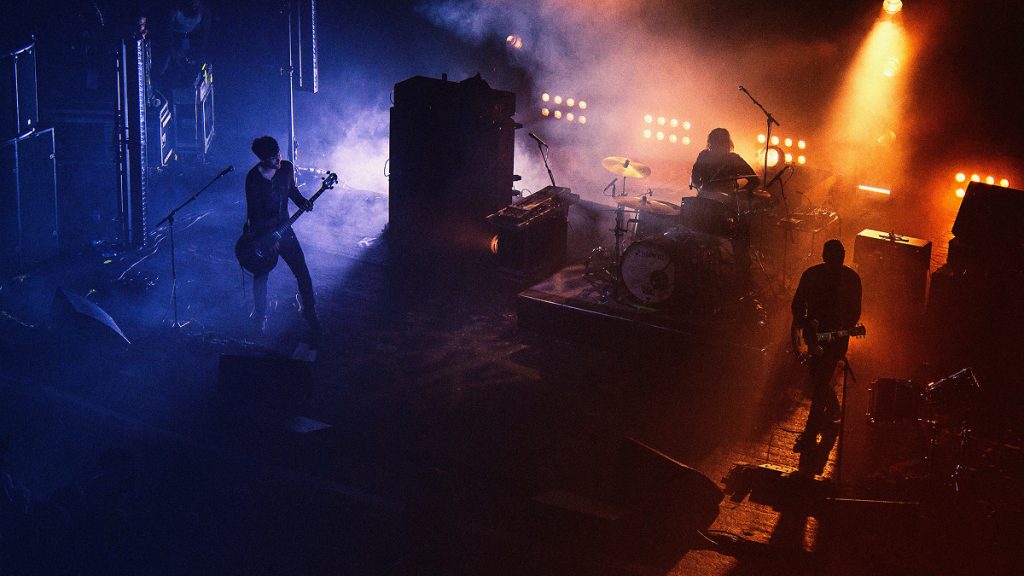
The live venue gives you production value that money can’t easily replicate. Professional stage lighting – which most mid-sized venues already have – creates dramatic, dynamic visuals that would cost thousands of dollars to recreate in a rented studio. Hazer machines, moving head lights, wash lighting in bold colors, and spotlights create the kind of cinematic contrast that makes footage look expensive. Crowd energy adds layers of authentic atmosphere. Venue architecture – exposed brick walls, high ceilings, dark interiors – functions as built-in set design. You’re not building a set. The venue already is one.
There is also a significant psychological advantage. When a band plays to an actual audience, their performance tends to be sharper, more committed, and more emotionally expressive than anything filmed in an empty rehearsal space.
That authenticity reads on camera in ways that are difficult to articulate but impossible to miss.
Planning Your Music Video Shoot: The Work You Do Before the Gig
A successful live music video starts two to three weeks before the show, when you make deliberate decisions about what you want to capture and how you’re going to capture it.
Treating a live video shoot like a production and not an afterthought is the single most important mindset shift you can make.
Begin by identifying which song you’re filming. You don’t need to document the entire set; in fact, trying to cover everything usually results in mediocre footage of everything rather than excellent footage of one thing. Pick the song that represents your band most accurately right now, whether that’s your most crowd-reactive track, your current single, or a fan favorite that translates well visually.
Choose a show that gives you enough of an audience to fill out the background but is manageable enough that you can control camera positioning without obstructing sight lines.
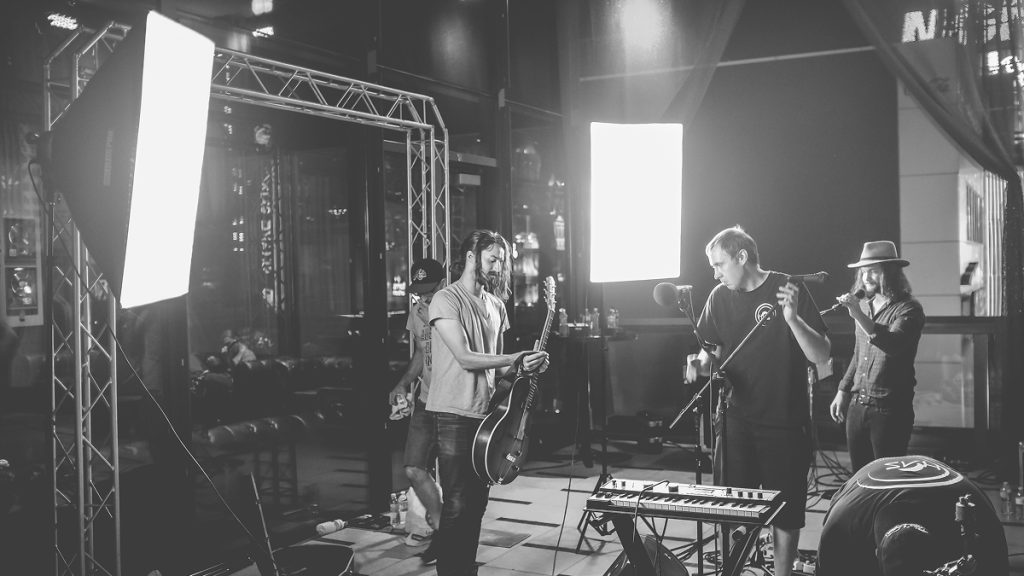
Next, scout the venue in advance. Walk the floor during a quiet period, identify where your cameras will go, discuss placement with the venue manager or production manager, and note where the stage lighting is most dynamic.
Ask whether you can get a feed from the front-of-house mixing board. This could be crucial. Talk to the sound engineer and make them your ally early. If the show involves a rehearsal or soundcheck, run through the target song at least once and have your camera operators on-site to test exposure settings, white balance, and framing before the room fills.
The Camera Equipment You Actually Need to Film A Music Event Live
1. Choosing the Camera You Are Going to Use
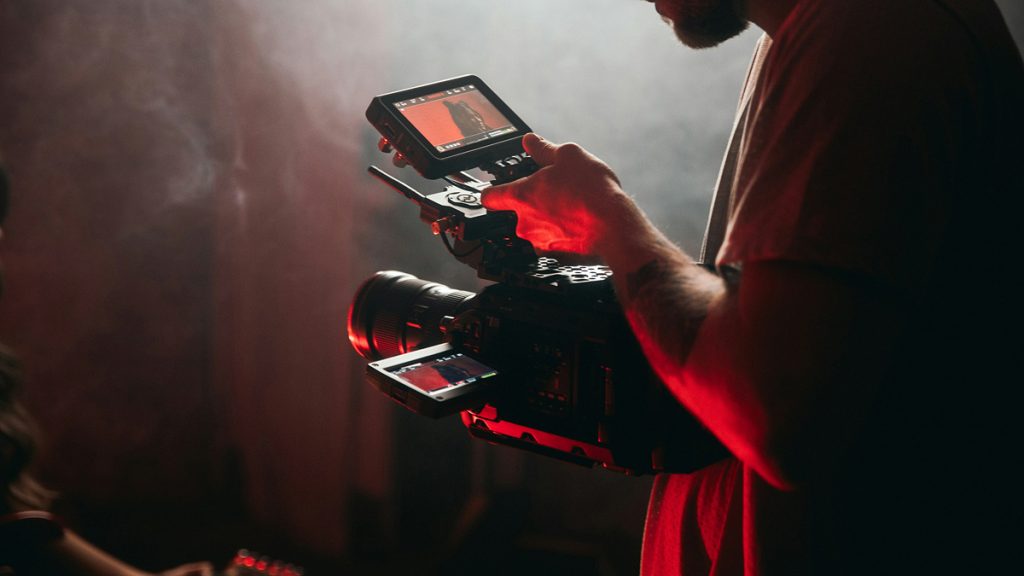
The cornerstone of your shoot is your main camera, and the single most important quality for live performance footage is low-light performance.
Concert venues are dark by nature, with constantly changing lighting conditions that swing between near-blackout and blinding spotlight exposure in seconds. Your camera needs to handle high ISO values without producing footage that looks like television static.
The Sony A7S III is widely considered the gold standard for low-light video work and the first choice for serious live performance shoots. Its dual native ISO can push to extraordinary levels while maintaining clean, usable footage.
Professional videographers consistently cite it as capable of shooting clean footage up to ISO 12,800 and beyond, which matters enormously in dark venue conditions. It shoots 4K at 120fps for smooth slow-motion and uses Sony’s S-Log3 color profile, giving you extensive flexibility in post-production color grading.
For those with a more constrained budget, the Sony FX3 is a cinema-body version of the A7S III technology, featuring the same 12.1-megapixel sensor, dual native ISO, and 4K 120fps capability in a compact cinema-style housing with built-in cooling, a practical advantage for long performance shoots where camera overheating becomes a genuine risk.
The Blackmagic Pocket Cinema Camera 6K Pro is another strong option, particularly for bands who want that rich, filmic aesthetic—its Super 35 sensor, 13 stops of dynamic range, built-in ND filters, and internal 6K RAW recording deliver cinematic image quality at a significantly lower price point than the Sony flagships.
If you’re working with a tight budget or borrowing gear, the Canon EOS R5 or R6 Mark II both perform admirably in live performance situations, with Canon’s well-regarded color science and best-in-class autofocus tracking making it easier to lock onto fast-moving performers.
For the smallest possible footprint – ideal for on-stage or crowd-level angles – a GoPro Hero 13 Black with its HyperSmooth 6.0 stabilization provides surprisingly capable footage in a body you can mount anywhere.
2. Lenses: What to Put on Each Camera
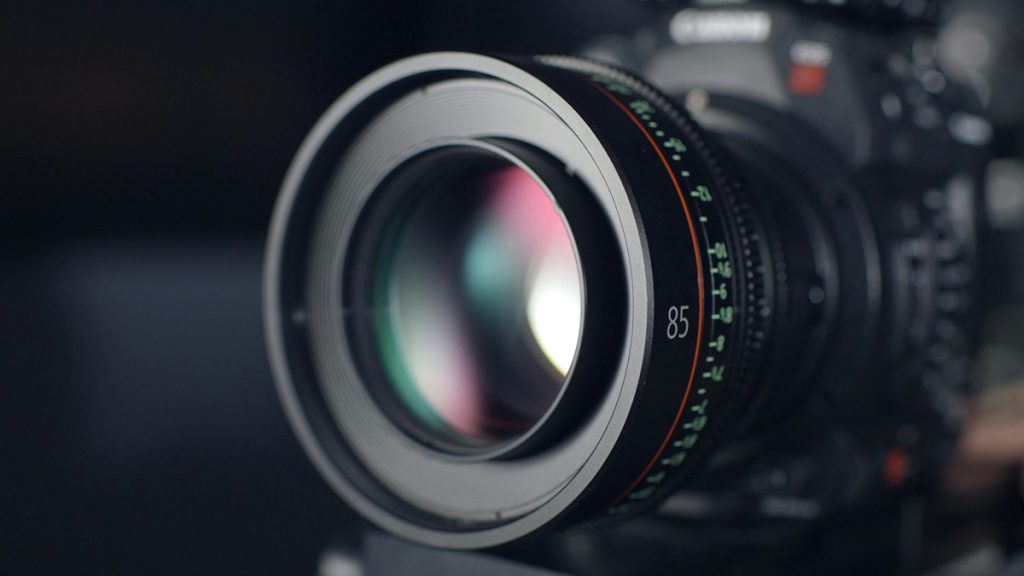
Camera bodies matter, but lenses are where the visual character of your footage actually lives. For your primary camera – the one capturing your lead singer and key performance moments – a fast telephoto zoom like a 70-200mm f/2.8 gives you the reach to work from the back of house while maintaining a wide aperture that pulls in as much light as possible.
The wide aperture also produces that shallow depth-of-field background blur that makes foreground subjects pop against venue backgrounds.
For your mid-distance camera in the pit or in front of the stage, a 24-70mm f/2.8 is the workhorse lens of choice. It’s versatile enough to capture tight close-ups of a guitarist’s hands, medium shots of the full band, or wider environmental frames that establish the venue’s character. A 50mm f/1.4 or f/1.8 prime lens is an excellent addition for any operator with a fixed position.
The wide aperture handles low-light situations exceptionally well, and the natural perspective of a 50mm focal length produces footage that feels cinematic without the distortion of wider glass.
For on-stage angles and extreme close-ups, wide-angle lenses in the 16-35mm range are ideal. They exaggerate the sense of depth and space around performers, making even a modest stage look expansive, and they’re forgiving in tight quarters where you can’t step back far enough to frame with a longer lens.
3. Stabilization for Your Camera: Tripods, Gimbals, and Everything Between
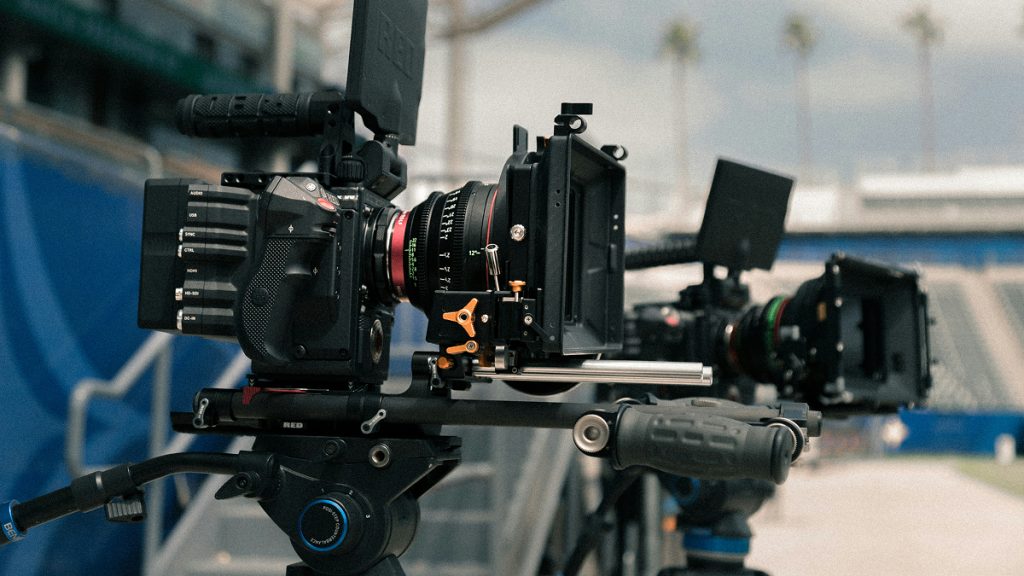
Every live music video needs at least two cameras on solid fluid-head tripods. These are your foundation shots, the frames you’ll cut back to repeatedly throughout the edit.
For moving cameras, a three-axis electronic gimbal is the modern standard for smooth, cinematic motion. The DJI RS 3 Pro handles heavier mirrorless and cinema camera setups and is widely used by professional videographers for live event work.
The Zhiyun Crane 4 is a reliable, slightly more budget-friendly alternative with comparable stabilization performance.
On-stage GoPro cameras benefit from the camera’s built-in HyperSmooth 6.0 stabilization, which is genuinely impressive for wide-angle, close-quarters shots.
A note of practical importance: when using a gimbal with a dedicated camera body, disable the camera’s electronic image stabilization. Having both active simultaneously causes them to fight each other, resulting in wobbling rather than smooth footage.
Capturing the Audio for a Live Music Video: The Part That Most Bands Get Wrong
Here is the uncomfortable truth about live performance video: bad audio ruins good footage faster than anything else.
A viewer can forgive slightly imperfect framing or moderate camera shake, but distorted, clipping, or muddy audio makes even the most beautifully shot footage unwatchable. Live music video audio requires a completely different approach than relying on your camera’s built-in microphone, which in a loud venue environment will produce nothing usable.
1. Getting the Board Mix is Essential
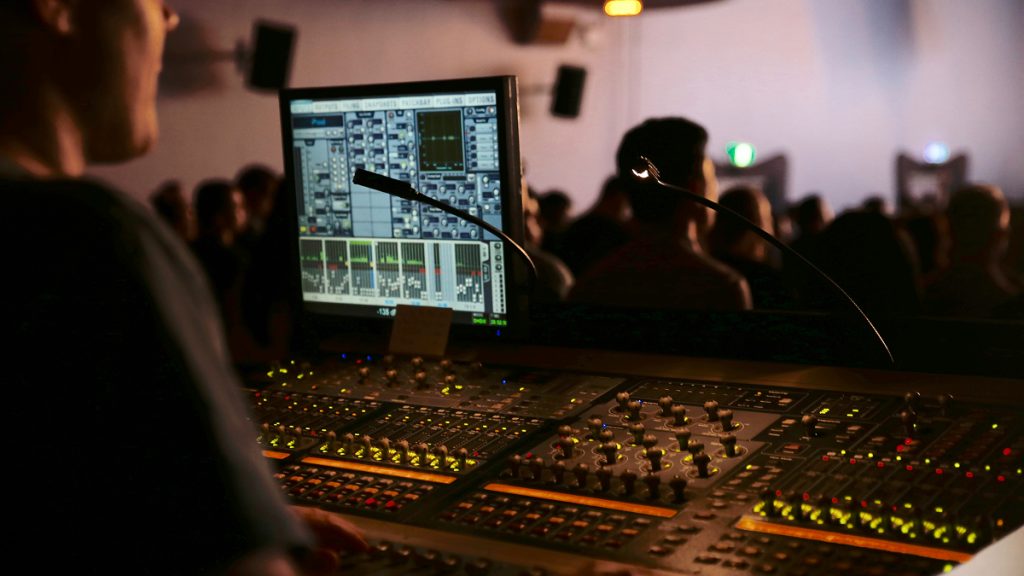
The most reliable audio source for a live music video is a direct feed from the venue’s front-of-house mixing board.
Talk to the sound engineer before the show and ask for a stereo mix output via XLR. Many venues have this available as a standard tap off the board. Record this feed into a dedicated portable audio recorder running simultaneously with your cameras.
The Zoom H6 and Tascam DR-40X are both professional-grade field recorders that accept XLR inputs, run on batteries, handle high SPL (sound pressure levels) without distorting, and produce 24-bit/96kHz audio that will be indistinguishable from studio-quality recordings in the final mix. The Zoom H6, in particular, has six input tracks, allowing you to capture both a stereo board mix and additional room microphones simultaneously if you want to blend ambient crowd energy into the final audio.
However, here’s an important caveat: the board mix rarely captures the room and crowd energy, because it’s mixed for the PA system, not for recording.
For the final music video, most bands end up replacing the live audio entirely with their studio recording of the track and syncing that polished audio to the live footage. This is completely standard practice and gives you the best of both worlds – that is raw, authentic-looking live visuals married to clean, professional-sounding audio. The board mix recording is used as a sync reference during editing, not necessarily as the final audio deliverable.
2. Ambient Microphones for Crowd Sound
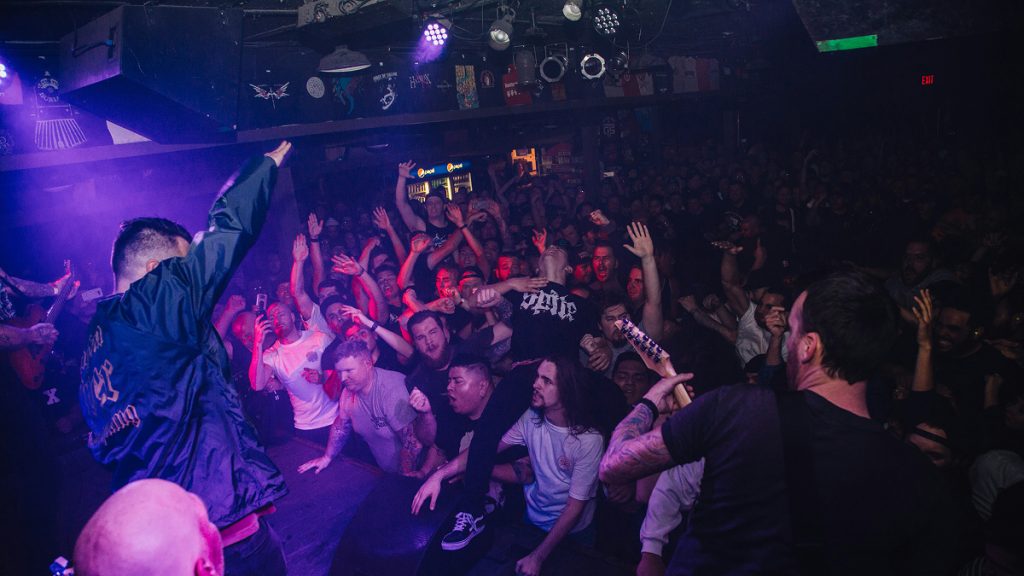
If you want to incorporate crowd energy – think applause, screaming, the buzz of a room full of people – position one or two quality condenser microphones at the back of the room, pointed toward the stage.
These ambient recordings blend underneath the studio track in the final mix to create the sense of a live atmosphere without the audio quality compromises of raw live recording. The Rode NT5 pair is a compact matched condenser set well-suited to this application.
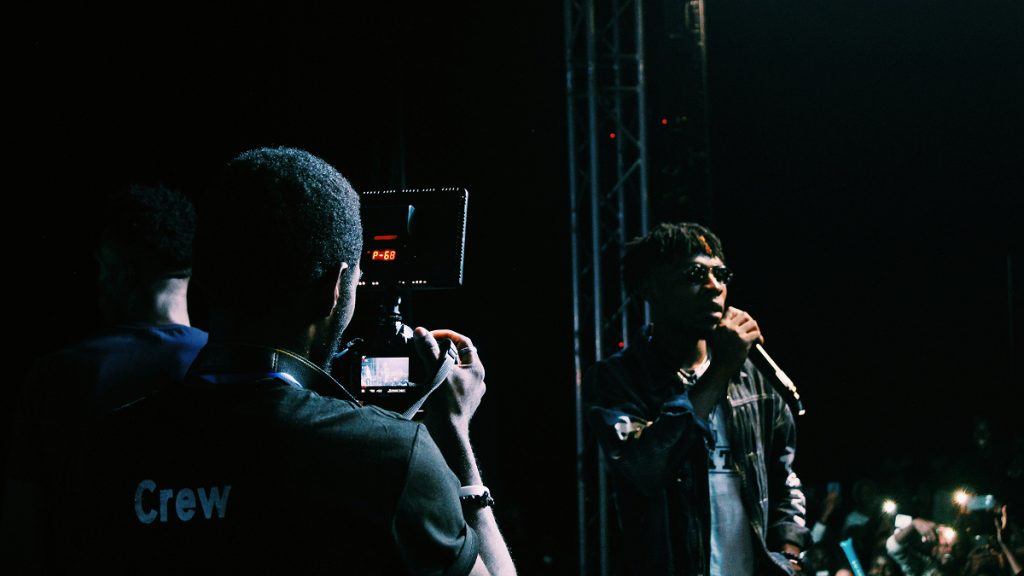
Camera Positions and Shot Angles for a Music Video: A Complete Breakdown
1. The Foundation: Front-of-House Wide Shot
Every live music video shoot needs at least one camera at front of house (FOH) – aka the back of the venue where the sound engineer typically stands – mounted on a sturdy tripod with a long telephoto lens. This is your master shot, the frame you return to throughout the edit to establish context, scale, and the relationship between the band and the crowd.
A 70-200mm f/2.8 positioned here can capture the entire stage width or compress in on the vocalist for dramatic close-ups from a distance. This camera should stay on a tripod throughout the performance, operated by someone who follows the action, tracking the lead singer during the verse, widening to capture the full band during the chorus, zooming in on individual members during instrumental breaks.
2. The Pit Camera: Close-Range Performance Capture
Positioning a camera operator at the downstage edge – the area directly in front of the stage, ideally in the photo pit if the venue has one – gives you the close-range coverage that creates intimacy in the final edit.
This camera lives in the 24-70mm range, working constantly to capture medium shots of band members, tight shots of guitarists’ picking hands or the drummer’s stick work, and reactive close-ups of performers during emotionally intense moments. The pit camera is where you capture the shots viewers remember: the lead singer’s face during the final chorus, a guitarist leaning out toward the crowd, the drummer’s expression mid-fill.
Coordination between camera operators is critical here. The pit operator should never cross into the same exact focal area as the FOH camera at the same time, because you want variety between your angles. When the FOH camera is wide, the pit camera should be tight. When the FOH camera pulls in for a singer close-up, the pit camera should widen to show the full band. This push-pull rhythm in shot coverage is what creates dynamic, watchable edits.
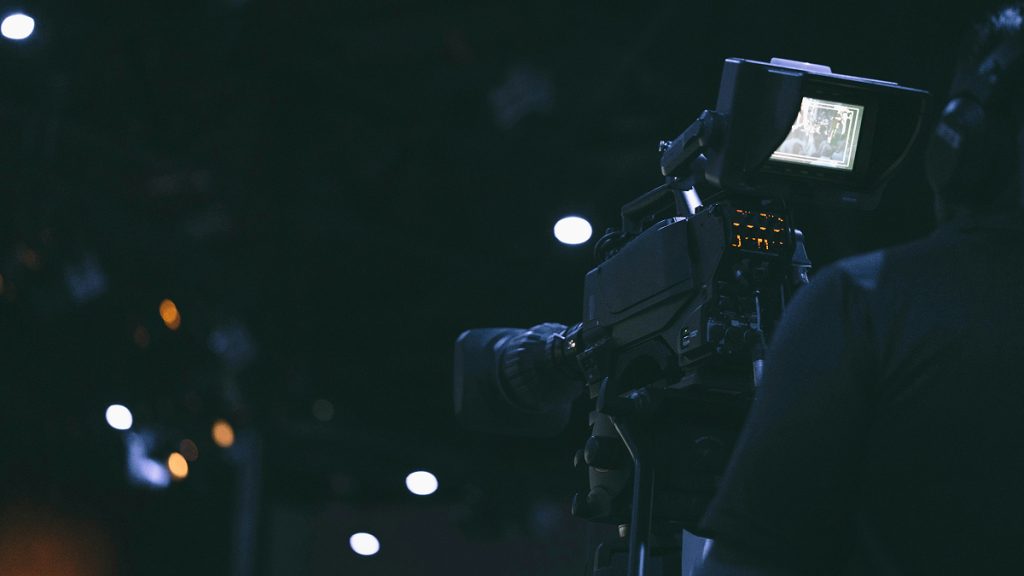
3. The On-Stage Camera Gets You Another Perspective
An on-stage camera – positioned at the back of the stage, pointed out toward the crowd – produces some of the most visually striking shots in any live video. This angle gives viewers the performer’s perspective: the crowd stretching away into darkness, the venue lights backlighting the band, the singer’s silhouette against a wall of faces.
A GoPro Hero 13 mounted on a drum riser, a bass amplifier, or a dedicated stand behind the drummer captures this perspective without requiring a dedicated operator. Always get venue and production manager permission before placing any equipment on stage, and ensure the camera is secured in a way that cannot fall or create a safety hazard.
4. The Roaming Gimbal Operator
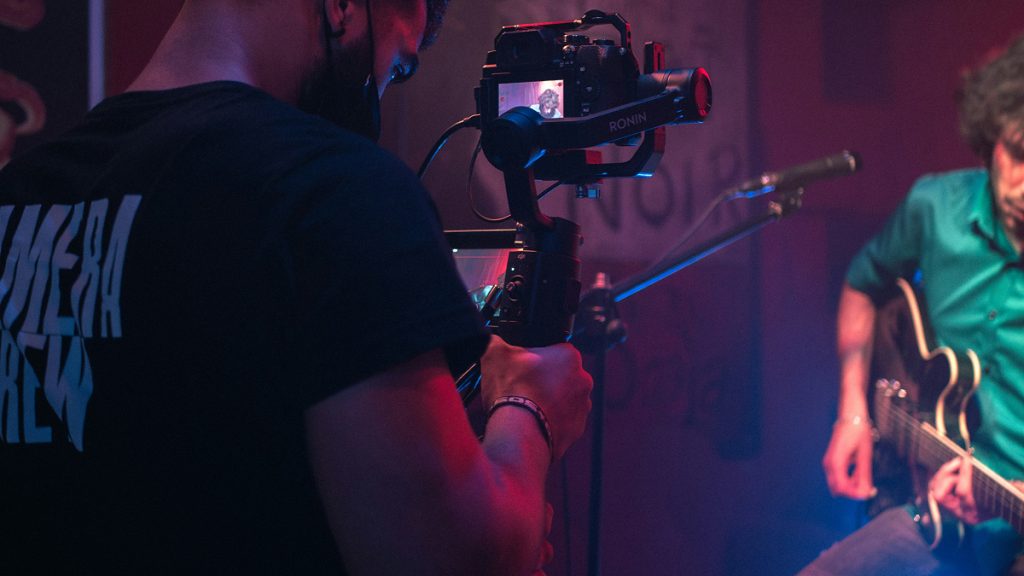
If you have a third human operator available, put them on a mirrorless camera with a 24-70mm lens mounted on a gimbal and let them work the floor, the sides of the stage, and occasionally the audience.
This camera delivers the most dynamic, unpredictable footage in your shoot – low-angle shots looking up at the singer, side-stage angles showing the band in profile, crowd reaction shots of people singing along, smooth gliding movement through the venue. The gimbal operator should follow their instincts and the energy of the performance rather than sticking to a predetermined shot list.
Some of the most compelling footage in any live music video comes from the gimbal operator responding in real time to an unexpected performance moment.
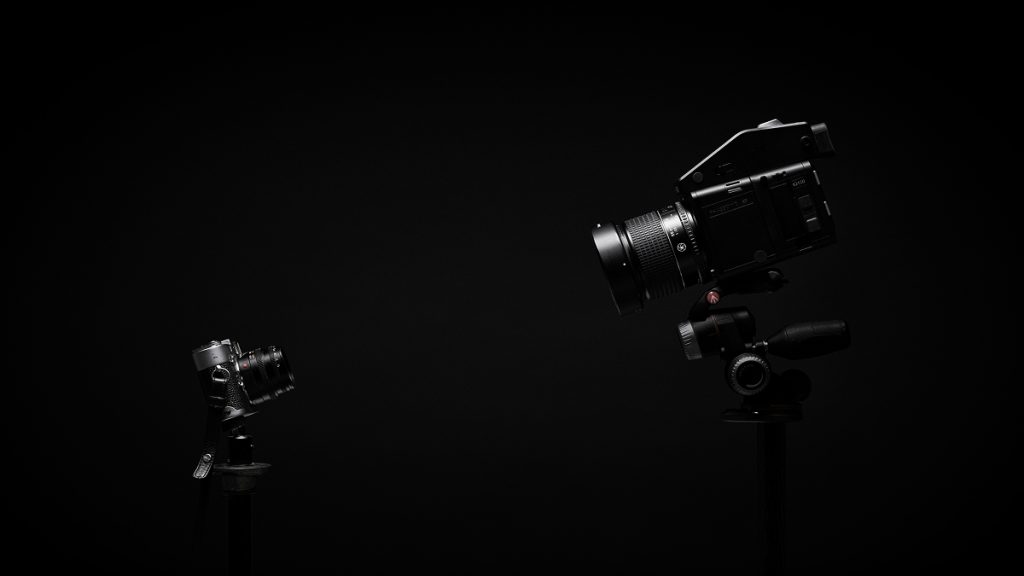
5. Creative and Specialty Angles
Beyond your primary camera positions, a handful of specialty angles add significant visual texture to the final edit.
A camera positioned at the side of the stage shooting parallel to the front of the stage creates a compelling profile perspective that separates the performer from the background in an unusual way.
Low-angle shots from floor level looking up at performers are dramatic and visceral, particularly during heavy musical moments. If the venue has a balcony, a camera positioned there looking down at a slight angle gives you an overhead perspective that shows the density of the crowd and the spatial relationship between band and audience in an interesting way.
GoPro cameras excel in these specialty positions because of their small form factor. You can mount them on microphone stands angled toward the drummer’s kit for an intimate drum-eye-view, clip them to a guitar headstock for a disorienting but visually arresting perspective, or position them on the stage floor shooting upward at the vocalist.
These shots function as visual texture in the edit. You wouldn’t build a music video around them, but they’re the unexpected frames that make a video feel thoughtful and layered.
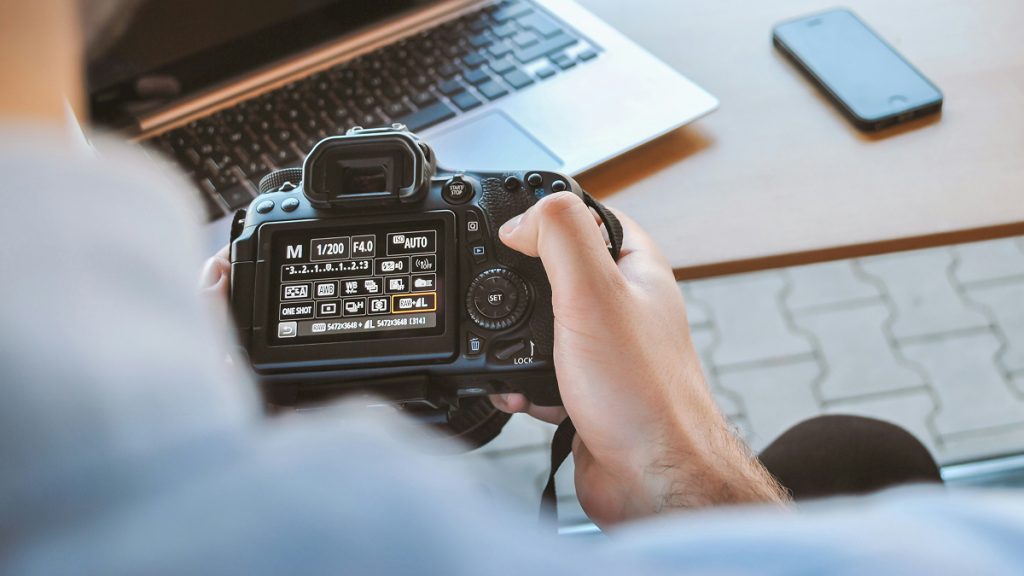
6. Camera Settings for Live Performance
Getting your camera settings right before the performance starts – not during – is the difference between consistent, usable footage and a card full of technical disasters.
Shoot in 4K at minimum, even if your final delivery will be 1080p, because the extra resolution gives you the ability to reframe and crop in post without visible quality loss. Shoot at 24fps for a cinematic look, or 30fps if your content will primarily live on social media platforms. For slow-motion inserts, shoot at 120fps in 1080p. This gives you 5x slow-motion when your timeline is at 24fps.
Set your shutter speed to double your frame rate (the 180-degree shutter rule): 1/50th at 24fps, 1/60th at 30fps. This produces natural-looking motion blur that makes footage feel filmic rather than video-like.
Use the widest aperture your lens allows to maximize light intake. f/2.8 should be your target, f/4 in better-lit conditions.
Never shoot live performance on auto-ISO; instead, set a maximum ISO value (12,800 for capable Sony bodies, 6,400 for most others) and let the camera manage within that range using Auto ISO with locked shutter and aperture. This prevents sudden, jarring exposure changes when the stage lighting shifts.
Shoot in your camera’s LOG color profile if available (S-Log3 for Sony, C-Log for Canon, or V-Log for Panasonic). This flatter, desaturated picture profile captures the maximum dynamic range from the sensor, preserving detail in both the brightly lit stage areas and the dark venue surroundings that would otherwise clip to pure black or white.
LOG footage looks washed out and flat until it’s color graded in post which is exactly the point. White balance should be set manually to approximately 3,200–4,000K for typical warm stage lighting, preventing the orange color casts that auto white balance tends to produce under tungsten and LED stage lights.
The Editing Process: Turning Raw Footage Into a Finished Music Video
1. Ingesting and Organizing Your Footage
After the show, the work begins. Before you do anything else, back up all your footage to at least two separate hard drives. Losing footage to a drive failure after a successful shoot is a scenario too painful to contemplate, and it happens more often than anyone likes to admit.
Organize your footage by camera angle from the start: create folders labeled Camera 1 (FOH Wide), Camera 2 (Pit), Camera 3 (On-Stage GoPro), Camera 4 (Gimbal), and so on. Label your audio files similarly.
2. Choosing Your Editing and Color Grading Software
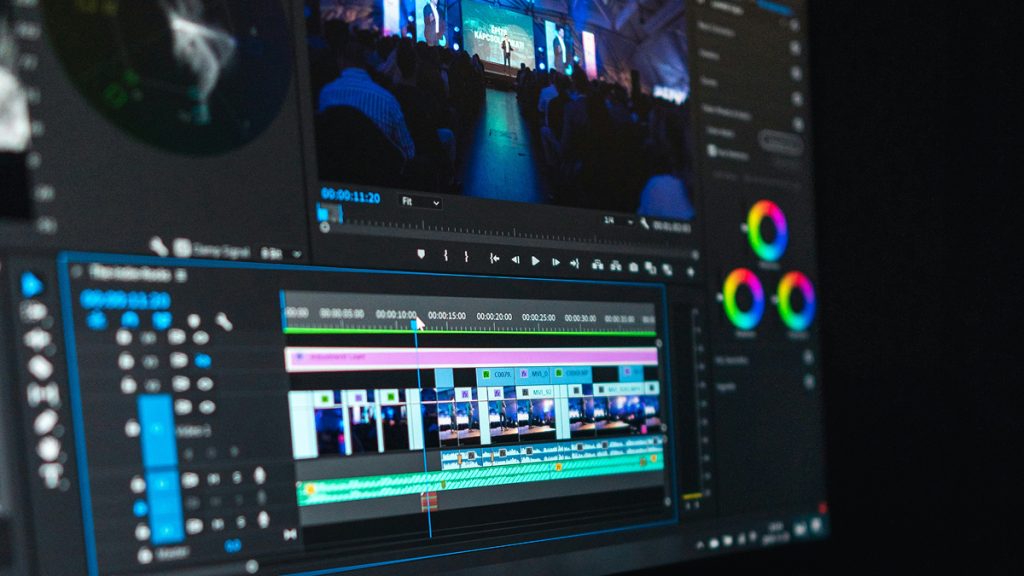
For the editing phase, Adobe Premiere Pro and DaVinci Resolve are the industry-standard choices, and both handle multi-camera live performance footage excellently. Premiere Pro’s advantage is its integration within the Adobe ecosystem.
If you use After Effects for motion graphics or Audition for audio work, the round-trip between applications is seamless. DaVinci Resolve’s advantage is its exceptional built-in color grading toolset (the Colour page) and its free version, which offers professional-grade features at no cost, making it genuinely accessible for independent artists on tight budgets.
DaVinci Resolve’s multicam sync tool is particularly powerful for live music video editing: it can analyze the waveform of the audio recorded by each camera’s built-in microphone and automatically align all camera angles to a shared audio reference within seconds. This eliminates what would otherwise be a tedious manual sync process. Once synced, the Angle Viewer in Resolve lets you play back all camera angles simultaneously and switch between them in real time, effectively letting you perform a live edit of the performance in the timeline.
3. Syncing Your Footage
Whether you use Premiere or Resolve, your sync workflow begins with your dedicated audio recorder file, the board mix or ambient recording you captured during the show. Import all video files and audio files into the program’s media pool, select them all, right-click, and choose “Auto Sync Based on Waveform.”
Both Premiere and Resolve can match the audio waveforms recorded by each camera’s microphone to the reference audio file, aligning everything automatically. If you used a clapperboard or a simple handclap at the beginning of the performance, you’ll have a visual and audio sync point that makes manual alignment foolproof should the automatic sync miss.
Once everything is synced, replace the camera audio with either your studio recording of the track (most common) or the cleaned-up board mix. The studio recording swap is straightforward: import the master studio track into your timeline, align it to the sync reference, and mute all camera audio channels. The result is clean, professional-sounding audio running beneath footage that was genuinely captured live.
4. Editing to the Music
Here is where music video editing fundamentally differs from other video work: your edit is dictated by the music, not the other way around.
Every cut you make should feel motivated by what’s happening in the track, i.e. the beat, the chord changes, the dynamics, the lyrical content. Cuts that land on the downbeat of a bar, on a snare hit, or at a key lyrical moment feel intuitive to viewers even when they can’t articulate why. Cuts that land mid-phrase or mid-bar feel arbitrary and create a jarring, choppy viewing experience.
A practical editorial rhythm for a four-minute performance video involves starting wide to establish the setting and band, then progressively moving closer as the song builds, using the most emotionally intense close-ups during the chorus and peak musical moments, and cutting to crowd reaction shots during instrumental sections.
Resist the temptation to cut too frequently. This is one of the most common mistakes in amateur live video editing is overcutting, which creates a hyperactive, exhausting viewing experience. Let shots breathe. A five-second medium shot of your bassist in a groove is often more compelling than three rapid-fire two-second cuts of the same moment.
Slow-motion inserts – using the 120fps footage you captured – are best deployed sparingly at high-impact moments: a particularly expressive face, a guitar pick striking a string, drum sticks in motion during a fill, or the crowd surging during the chorus. Used with restraint, slow motion adds cinematic weight to key moments. Used excessively, it becomes a gimmick that dilutes its own impact.
5. Exporting for YouTube, Instagram, and Beyond
Export your final edit at 4K H.264 or H.265 for YouTube, which will compress the file efficiently while preserving visual quality. For Instagram Reels and TikTok, export a vertical 9:16 version at 1080×1920. Because you shot in 4K, you have enough resolution to crop the horizontal frame to a vertical framing without visible quality loss.
Creating both horizontal and vertical versions of your video from the same footage is one of the highest-leverage moves available to you, essentially doubling your content output without any additional shooting.
Legal and Logistical Details You Can’t Skip
1. Venue Permissions
Before you set up a single camera, confirm with venue management that filming is permitted.
Most independent venues will readily accommodate bands who want to film their own performance, but assuming permission without asking is how you end up having your footage confiscated mid-show. Get it in writing via email if possible, and clarify whether the permission extends to releasing footage commercially (i.e., posting it publicly on YouTube and social media). Some venues have exclusivity agreements with specific production companies, particularly larger clubs that work with regular AV providers.
2. Crowd and Audience Filming Considerations
Filming audience members as incidental background is generally permissible in public or semi-public event settings, but filming identifiable individuals in a way that features them prominently in your video involves a different standard.
For close-up crowd reaction shots that will be edited into the final video, verbal consent from those individuals is good practice. This is especially true in jurisdictions with stricter privacy laws. Practically speaking, a brief announcement at the top of the show that footage is being captured for a music video – and that audience members are welcome to opt out by staying off the camera-side of the venue – addresses this appropriately for most situations.
After the Edit: Releasing Your Live Music Video
A finished live music video is only valuable if it gets seen, and that requires a release strategy as deliberate as the production itself.
YouTube remains the primary platform for music video distribution, with over 500 hours of video uploaded every minute and a dedicated music audience that actively searches for artist content.
Optimize your YouTube upload with a keyword-rich title (include the song name, your band name, and terms like “live music video” or “live performance”), a detailed description that includes the venue name and date, and thumbnail artwork that captures an emotionally compelling frame from the video.
Use the launch of your live video as a content moment across platforms. Post short clips and behind-the-scenes footage to Instagram Reels and TikTok in the days leading up to the full video release. Share the vertical cut natively to those platforms on the day of release. Tag the venue, the photographer, any crew members who helped, and the city where the show took place. Each tag expands your reach organically.
The behind-the-scenes content from the shoot itself – camera setups, soundcheck moments, footage of your team working – often performs as well as the finished video, and it’s content you’re generating for free as a natural byproduct of the production.
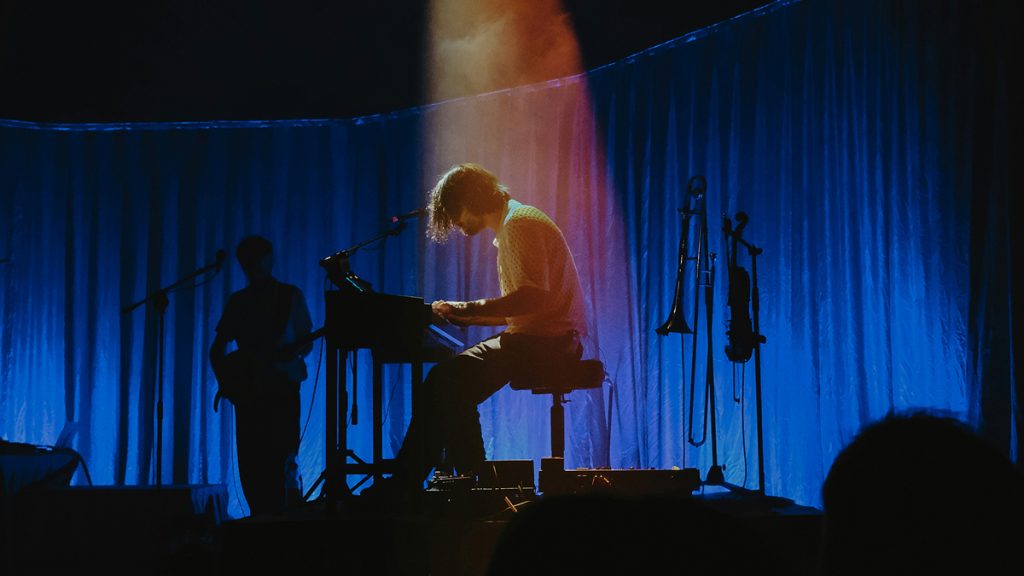
Treat Your Next Gig As A Music Video Production Opportunity
The logistics of filming a live music video are genuinely manageable for any band with access to decent gear and a willingness to plan deliberately.
You don’t need a budget that rivals a professional production company. You need the right cameras for the environment, properly positioned to capture the angles that tell your story, paired with audio that doesn’t embarrass the music, and edited with enough skill and patience to let the performance speak for itself.
What you do need is the discipline to treat your live show as a production opportunity before it’s a performance. Scout the venue. Talk to the sound engineer. Confirm your camera positions. Brief your operators. Test your settings during soundcheck. And then, rather crucially, trust the performance. A band playing to a real crowd in a real venue, with real stakes, will almost always give you footage worth cutting. The energy, the imperfection, the moments of connection between a performer and an audience that no studio setup can replicate.
Independent music video production for a single track runs $2,000 to $5,000 at the entry level when you hire out.
If you already own decent camera gear or can borrow it from your network, a live-shot music video can cost next to nothing beyond your time.
More importantly, it can look and feel like something that cost significantly more, because the ingredients that make live performance footage compelling aren’t purchasable. They’re already waiting for you at your next gig.