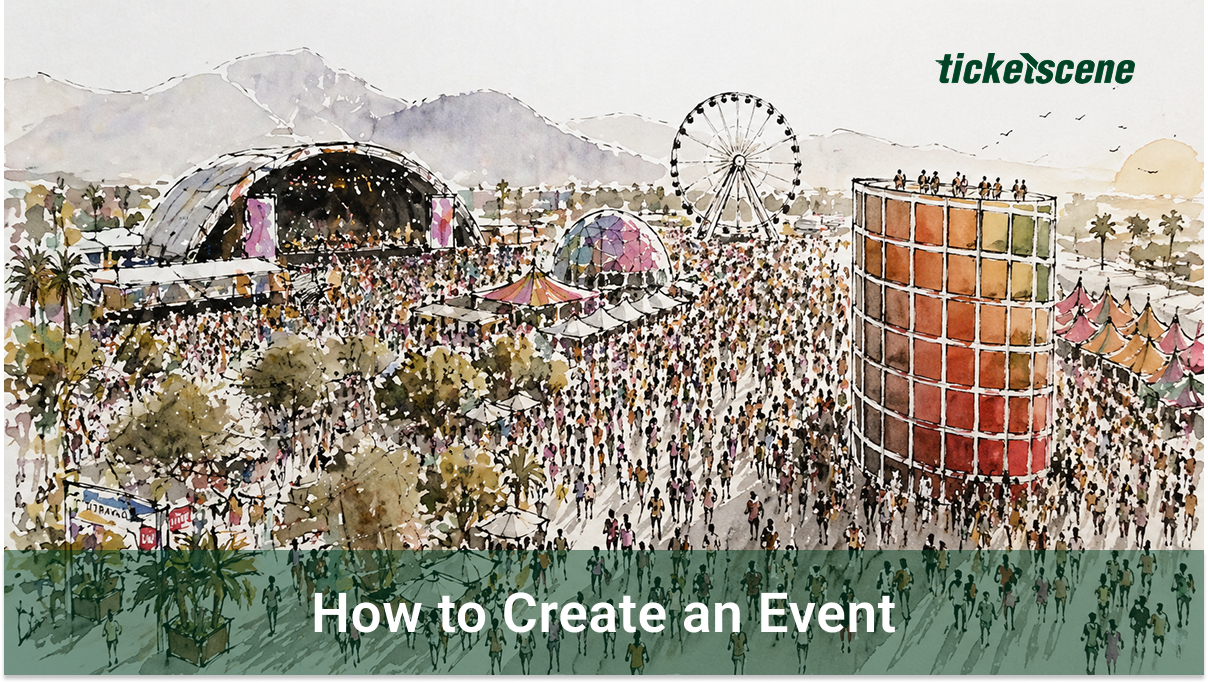
Creating an event with Ticketscene is a straightforward process that gives organizers full control over how their event is presented, managed, and sold to attendees.
Whether you’re planning a small local gathering, a live stream, or a large multi-day festival, the event ticketing platform walks you through each step, from naming your event and setting the location to configuring ticket pricing and marketing tools. With flexible options like scheduled ticket sales, artist tracking, and customizable event descriptions, Ticketscene allows you to tailor every detail to match your event’s goals while ensuring a smooth experience for both organizers and ticket buyers.
1. Where to Start
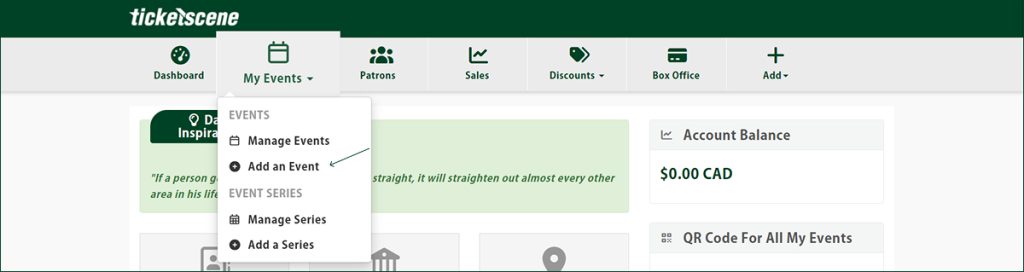
Select “Add an Event” to create your next event with Ticketscene.
2. Event Name

The first step is to enter the name of your event.
“Presented by” is an optional field that allows you to put the name of you, the event organizer, if you are looking to publicly promote your company or organization and associate your event with your organization.
3. Event Location
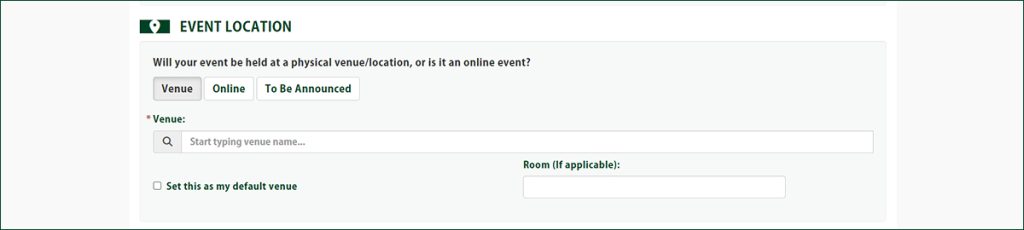
If you do not yet have a venue, enter in “To Be Announced”. If you announce your location at a later date, do not forget to return to your event listing and add the venue in at that time.
*Please note that an event location can only be updated by Ticketscene once a ticket has been sold.
If your event is a live stream, you can add the event link/live stream URL to your event listing which is provided to ticket buyers once they have purchased a ticket. You can also opt to password-protect this stream link, if you choose.
*Please note that any live stream URL must be added to your event listing no later than 48 hours prior to your event.
If you already have a venue, select “Venue” and then enter the venue name below. It may automatically populate with your event name once you start typing. If it does not, no worries. You can simply enter in your event name as you’ve written it and it will register in Ticketscene’s system.
4. Event Date & Time
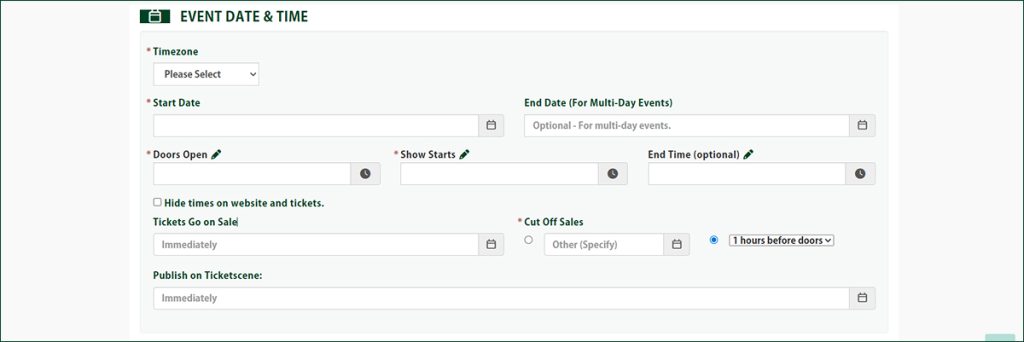
Ensure you select the correct time zone for your event.
If your event is scheduled for only 1 day, all you need to enter here is the start date and start time. For a multi-day event, this is where you will enter in an end date and end time.
*Please note that if you are hosting a multi-day event and selling tickets for each day individually, such as a festival that runs from Friday to Sunday, it is best to create four separate event listings:
- A Friday event listing to sell tickets exclusively for that day
- A Saturday event listing to sell tickets exclusively for that day
- A Sunday event listing to sell tickets exclusively for that day
- A multi-day event listing to act as a Weekend Pass in which a ticket buyer can purchase a pass extending across all days
With regards to when you want tickets to go on sale, you may not want to start selling tickets immediately. You may want to put up your event listing first and then start selling tickets at a later date. You can.
You can also choose to “Cut Off Sales” on a specific date or specific time before or after your doors open. Why you might do this is to have a complete list of your attendees for the event ready to go when your doors open. The downside is that no one will be able to buy a ticket through Ticketscene past the identified cut-off date.
*Please note that if you do not select a cut-off sale date, it will automatically cut off one hour before your event.
“Publish on Ticketscene” decides when you want to publish your event listing publicly.
5. Timeslots
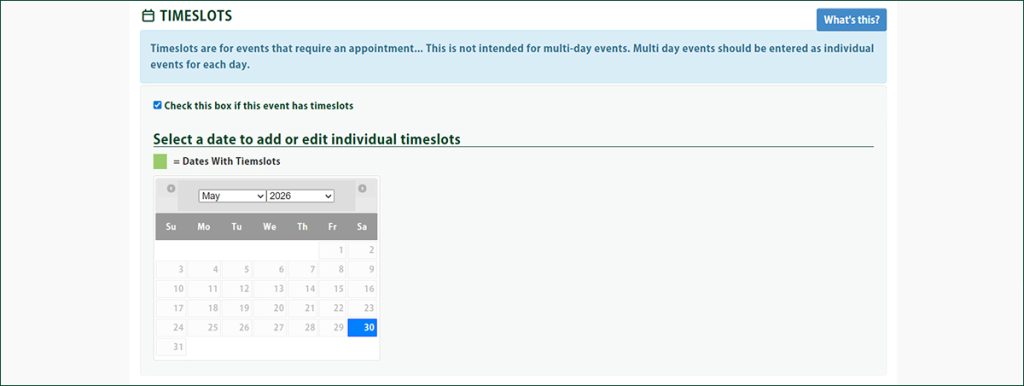
Timeslots is a feature that allows you, the event organizer, to create 1 event listing and put multiple time slots in.
This is appropriate if you are trying to limit the rate of people going through an exhibit every ‘X’ minutes. This would prompt a ticket buyer to select a ticket and the specific time they want to attend your event for.
You can create as many time slots as you want, each with a start time and end time, and capacity.
6. Artists, Performers, Speakers, and Teams
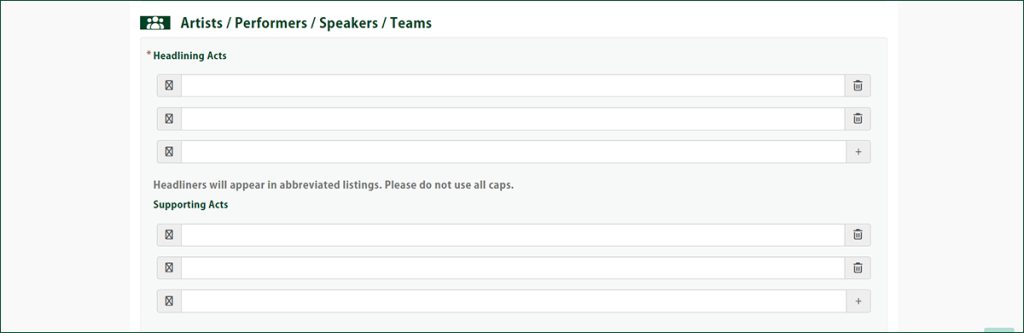
Your headlining acts should be entered carefully one at a time. Your supporting acts should be put in the same format.
7. Artist Tracking
An event with multiple artists on the bill can be structured so that when someone buys a ticket, they are able to enter the artist/act/band that they are buying a ticket for and supporting.
Then, each artist/band/performer can track how many tickets are attributed to them specifically. From the event promoter perspective, this helps them to identify who ticket buyers are coming to see. If you select “Yes, Enable Artist Tracking,” you will be prompted to write a tracking question which will be posed to the ticket buyer. The ticket buyer’s response will be registered in Ticketscene’s system.
*For an artist or performer to view how many times they registered as an answer to the tracking question, you will need to provide the artist or performer with the event ID and tracking reports password. They will then be able to sign in and view the analytics.
8. Tickets & Pricing
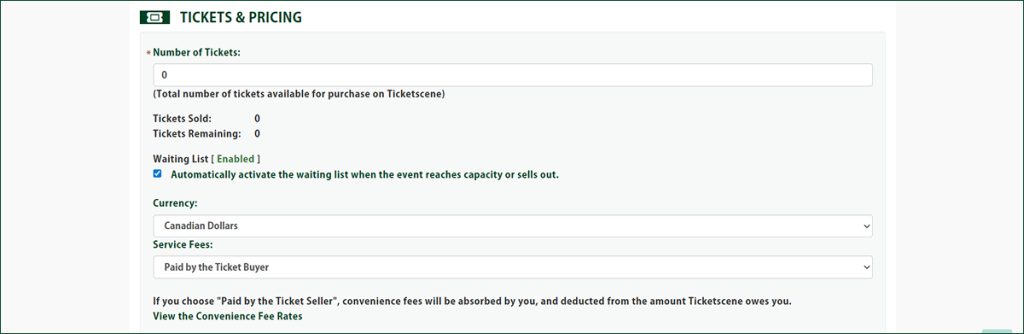
Input the total number of tickets you want available for purchase on Ticketscene.
You will notice the “Waiting List” is automatically enabled as you’re entering in this number. If you sell all available tickets, a ticket buyer will be prompted with a message to add themselves to a wait list which is then provided to you.
In this section, you also decide whether you want the service fees to be “Paid by the Ticket Buyer” or “Paid by the Ticket Seller”. If you choose to absorb the costs yourself (which means you’ve selected “Paid by the Ticket Seller”) the fees are deducted from the ticket sales automatically.
If you’re curious about how much your ticket fees are if you absorb the costs, you can view the Convenience Fee Rates table.
9. Price Levels
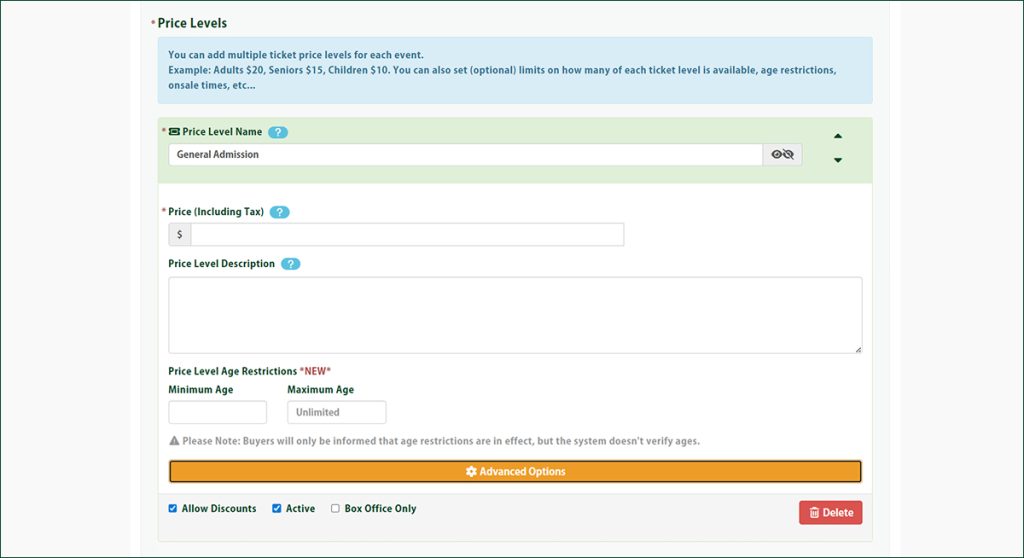
You can add multiple ticket prices, dividing tickets up by age (adults, seniors, children), access (general admission, VIP tickets), or by other restrictions. When you set your price levels, it will ask not only for the price you want for the ticket but a short 1-sentence description of the price level. You can also set ticket quantities for each price level.
*Please note that if it is all general admission tickets, simply create 1 price level.
10. COVID-19 Vaccines & Contact Tracing
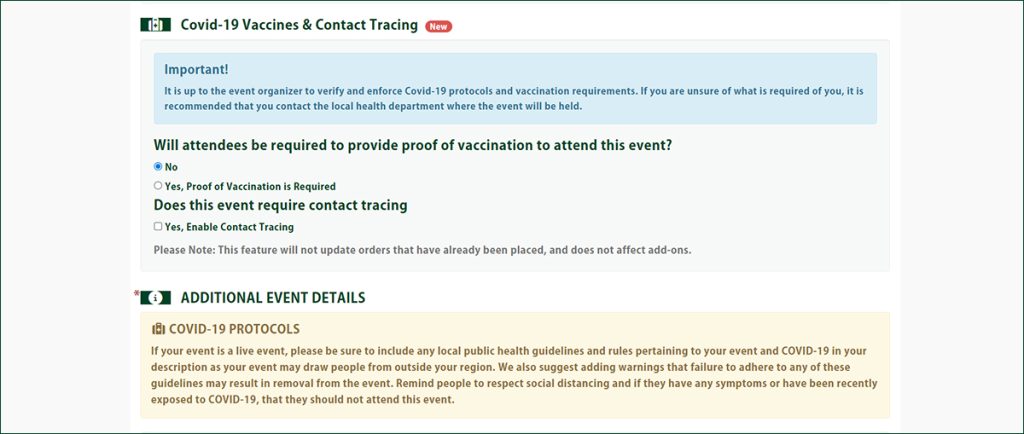
If you, the event promoter, are required to enforce contact tracing of any kind, you can require attendees to provide a proof of vaccination to attend the event and/or to enable contact tracing. Both responsibilities fall on the promoter to enforce, however, we at Ticketscene will notify the ticket buyer of the policy you choose and the expectation.
11. Event Description
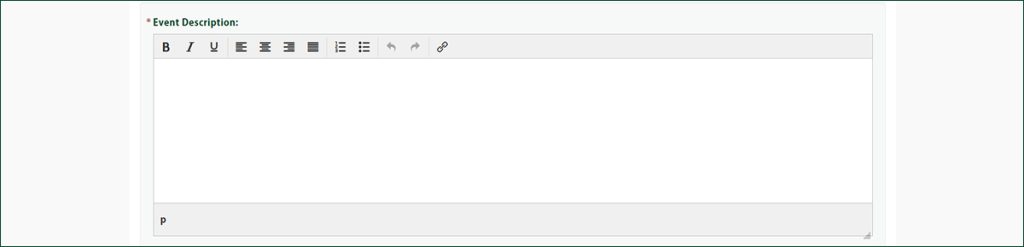
Your event description is yours to write however you see fit.
Typically, the most effective event descriptions are those that are able to emphasize the who, what, where, when, and why of an event.
You might also want to include parking info, a performer schedule if one exists, short performer bios, age restrictions if any exist, and accessibility information.
12. Licensing

Licensing highlights what age group your event is licensed to serve. If it is an event appropriate for all ages, you may select “All Ages” and move on to the next step.
13. eTicket Instructions

When a ticket buyer purchases a ticket for your event, they are sent an eTicket by email. If you want your ticket to feature special instructions, we can add those to their digital ticket.
14. Event Links

You have the option to add additional links to your event description, including a link to donate to your organization, a video link to highlight a YouTube video or Vimeo video that supports your event, and/or a Spotify playlist.
15. Post-Event Survey

If you want to get feedback from your attendees, you can automate a survey to automatically send to visitors a specific amount of days after an event. That said, Ticketscene does not create the survey. A promoter can create a survey using a service such as Survey Monkey and Ticketscene will then send out the link to the survey at a specified date. Here is where you enter in your survey URL.
16. Event Categories & Tags
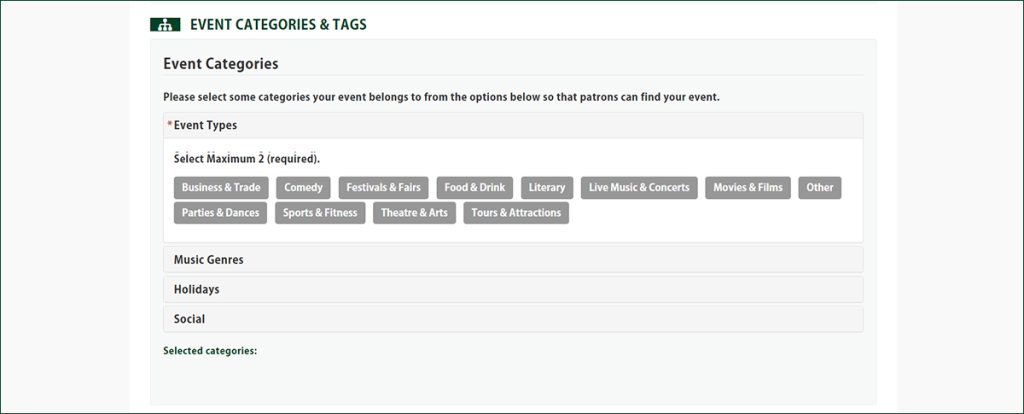
To appropriately categorize your event in Ticketscene’s system, you must select 1-2 event types.
17. Event Privacy/Passwords

If your event is not a public event or you want to only give access to VIP patrons, you can add a password to your event.
If you want a truly private event, you can opt to not only have a password applied to your event listing but have the listing excluded from all public search results and lists on Ticketscene only. This means the only parties who can view your event listing will be those who are provided the URL by you.
18. Campaign Marketing
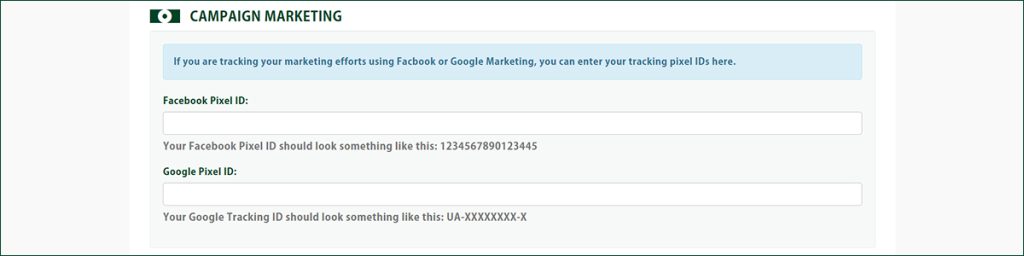
If you are tracking your marketing efforts using Facebook or Google Marketing, you can enter your tracking pixel IDs here.
*Please note that if you are not running a tracking campaign through Facebook or Google, you can skip this section.
19. Email Alerts
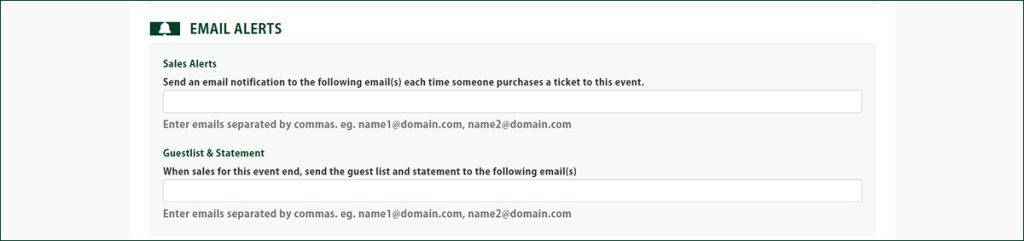
To receive an email alert every time someone has purchased a ticket to your event, please enter your email address in this form field.
When your ticket sales close, the main account holder for an event will receive an email with the guestlist and statement. If you need others to receive the guestlist and statement, please enter their email in this form field. For each additional email address you enter in either field, ensure it is separated with a comma from the prior email address.
20. Ticket Demand/Event Queue
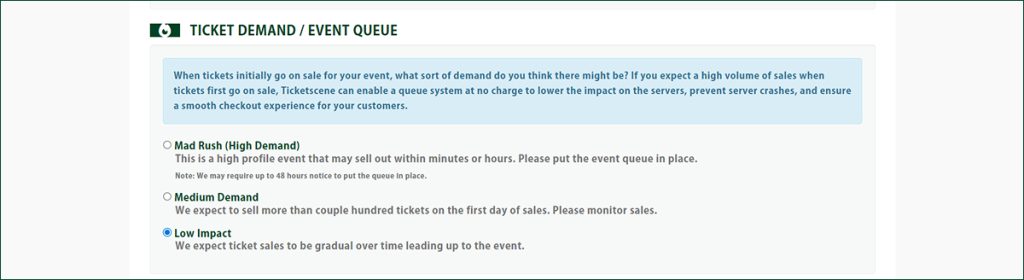
When tickets initially go on sale for your event, what sort of demand do you think there might be?
If you expect a high volume of sales when tickets first go on sale, Ticketscene will ensure we actively monitor the impact on our servers, prevent server crashes, and ensure a smooth checkout experience for your customers.
*Please note that this is designed for events that are expecting potentially thousands of ticket requests on a given day.
21. Event Terms and Conditions
If you have any terms and conditions you want to include in your event listing, here is where to enter them.
22. Order Confirmation
Your attendees will receive an email after they have purchased a ticket. You can add a personalized “Thank you” message here or include other information for your attendee, such as sponsors, parking information, or information related to event access.
23. Event Status

Define here if you want to save your event as a draft or template. If you are ready to publish, select “Live”.
24. Add-Ons, Assigned Seating, and More
There are additional features that can be added to your event listing that can only be requested by sending an email to info@ticketscene.ca. Please reach out for any assistance with the following:
- If you want to publish a seating map for your event for assigned seating
- If you want to apply add-ons, such as offering a choice of meal to be included with a ticket purchase or a choice of merchandise
- If you require multi-event passes, such as in the case of a season pass
25. Save Button
Congrats! If everything was entered in correctly, you will see your event published!
26. Don’t Forget to Upload A Photo
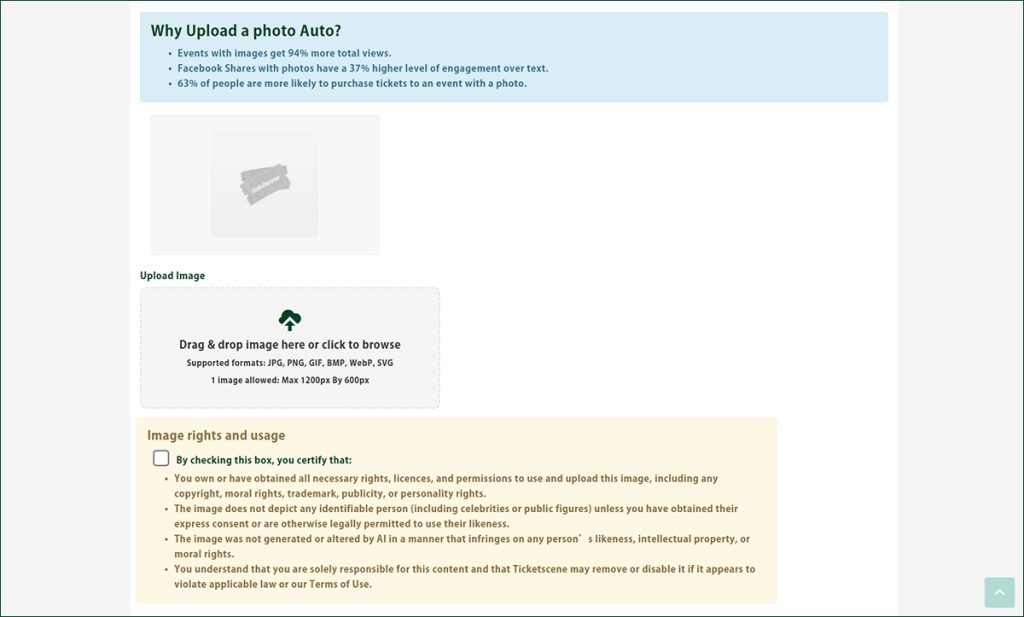
The very last step is to upload your event poster or an image that will be used as your event poster. To do this, you can drag and drop your image into the “Upload Image” box. The image must be no larger than 1200px x 600px and you must check the box certifying that you either own the image or have obtained the rights to share the image on your event listing.
Need to Edit Your Event and Make Changes?
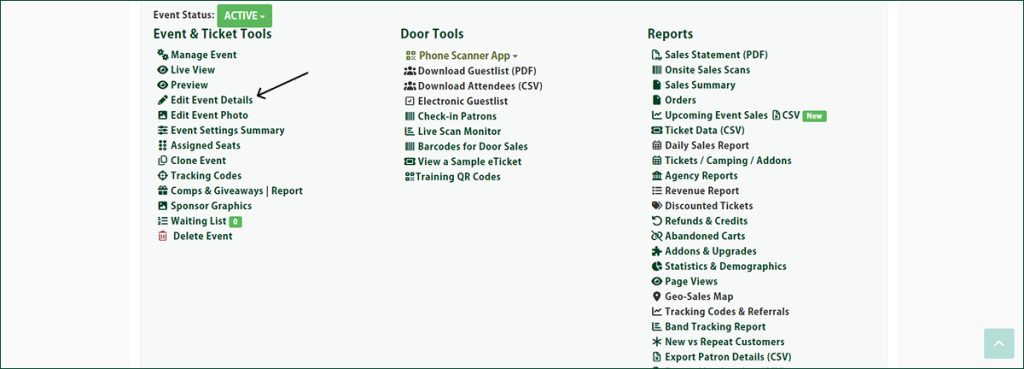
Understandably, you may want to make changes to your event, such as increasing or decreasing the amount of tickets you have on sale, changing your ticket prices, or adding or removing text from your event description.
To make any changes to your event, go to “Edit Event Details” and you will be brought back to the form you filled out to create your event.
Congrats! Your Event is Live!
With everything set up and published, your event is now ready to be discovered, shared, and experienced by your audience. From your event details to your ticketing structure, this is how you control these pieces of the puzzle to create a smooth, engaging experience for attendees. As interest builds, you can continue to fine-tune your listing, monitor sales, and make updates as needed.